The Menu Tool Bar

Main Characteristics of the Menu Tool Bar

The Toolbar contains shortcuts to menu items that are frequently used.  There are icons for the following menu items:

The Menu Tool bar is divided into the following menu areas:

The Main Menu

Contains file operations: NewOpenSaveSave As and Close.
Contains edit operations: CutCopyPaste.
Enable or Disable the Field View.
Enables the Preference Menu and the Test View.
Shows the Windows Menu.
Connects to the Online Help Library.

File

Edit

View

Tools

Windows

Help

The File Menu

Create a new object.
Save the current object.
Save all recently modified objects currently open.
Connect to another instance of a Zim database. Multiple simultaneous connections are supported.
Print the window, form or display currently open in the GUI Designer.

The Edit Menu

Undo the last action.
Redo the last undone action.
Cut the current selected object from the GUI Designer and place it on the clipboard.
Copy the current selected object from the GUI Designer and place it on the clipboard.
Paste the contents of the clipboard into the GUI Designer workspace.
Delete the selected object from the GUI Designer workspace.

The View Menu

Display the Properties Tab Page
Display the Tool Box Tab Page
Display the existing objects in all currently connected databases in the Database Tab Page
Display the Graphical Objects Tab Page
Display the Message Output Tab Page
Display the FieldView Tab Page
Display Start Page Tab Page

Tools

Display Internet Tab Page
Display Query Database Tab Page
Display Preferences Tab Page
Display Test Mode Tab Page

Windows

Float Tab Page
Dock Tab Page
Tab Page Auto Hide
Tab Page Auto Hide All
Tab Page Hide
Tab Page All Document Windows

Help

Zim Databases Canada website Tab Page
Zim Developer Library
Check for Update Zim
About Zim Development Environment

The Alignment Menu

Left align all currently selected objects with the first object that was selected.
Right align all currently selected objects with the first object that was selected.
Top align all currently selected objects with the first object that was selected.
Bottom align all currently selected objects with the first object that was selected.
Vertically align all currently selected objects with the first object that was selected.
Horizontally align all currently selected objects with the first object that was selected.
If multiple objects are overlapping, the currently selected object is brought to the top of the stack.
If multiple objects are overlapping, the currently selected object is pushed to the bottom of the stack.
Horizontally spaces multiple selected objects evenly apart.
(Ctrl + left arrow) Slightly increases the horizontal space between multiple selected objects.
(Ctrl + right arrow) Slightly decreases the horizontal space between currently selected objects.
Vertically spaces multiple selected objects evenly apart.
(Ctrl + up arrow) Slightly increases the vertical space between multiple selected objects
(Ctrl + down arrow) Slightly decreases the vertical space between multiple selected objects.
Sets multiple objects to the same width as the first object that was selected.
Set multiple objects to the same height as the first object that was selected.

The Search Menu

Find all objects in the current database by name
Find Previous
Find and Replace
Toggle Bookmark
Next Bookmark
Previous Bookmark
Clear Bookmark


Zim IDE Overview

Unlock the Power of ZimIDE:

Streamlined Development Process: ZimIDE integrates essential development tools into a single environment, simplifying the workflow and boosting productivity.

Enhanced Collaboration: Support for multiuser development allows teams to work together seamlessly, improving efficiency and project outcomes.

Comprehensive Platform Support: With compatibility across multiple platforms, ZimIDE ensures that your applications can be developed and deployed in diverse environments.

Continuous Improvement: ZIM Corporation’s commitment to ongoing development means that ZimIDE will keep evolving with new features and enhancements, keeping you at the forefront of technology.

Experience the Power of ZimIDE: Transform your Zim application development with ZimIDE. Whether you’re designing complex GUIs, managing multiple databases, or collaborating with a team, ZimIDE provides the tools and features you need to succeed. Try ZimIDE today and see the difference it can make in your development process.
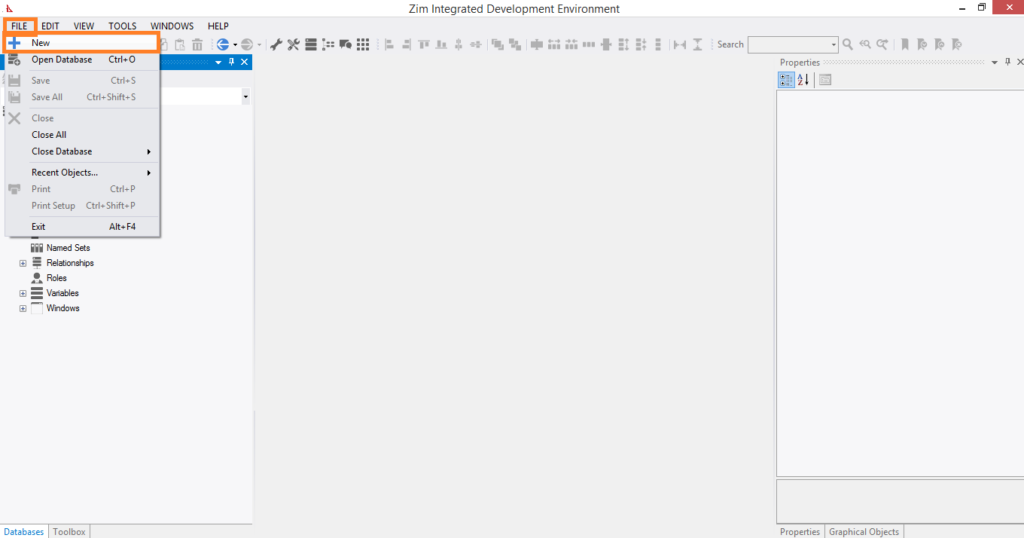

ZimIDE at a Glance

The Zim Integrated Development Environment (ZimIDE) is a comprehensive tool designed for creating graphical user interfaces (GUIs) for Zim database applications. It enhances and integrates the functionalities of three previously separate development components:

  • Zim Painter
  • Zim Development Center
  • Data Dictionary Browser

ZIM Corporation is dedicated to the ongoing development and enhancement of ZimIDE and the Zim language, ensuring continuous evolution with new features and improvements.


General Features:

  • Local and Remote Application Development: Develop applications both locally and remotely with ease.
  • Multiuser Application Development: Support for collaborative development in multiuser environments.
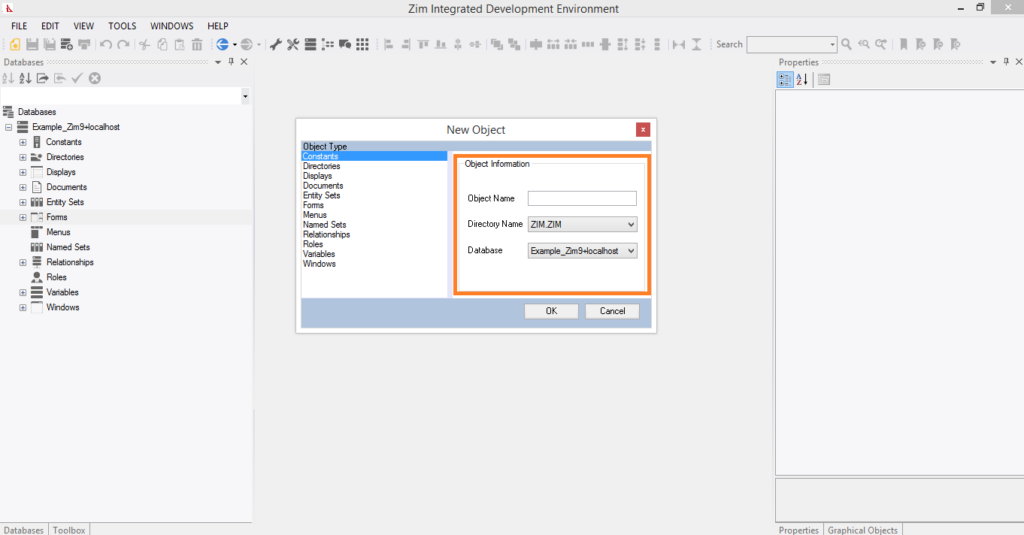
  • Design and Edit Forms and Displays: Create and modify forms and displays for both GUI and TUI applications.
  • Platform Support: Compatible with all Zim 9.50 platforms, including Windows, Linux, iOS, and Android.
  • Multiple Database Connections: Connect to multiple databases simultaneously.
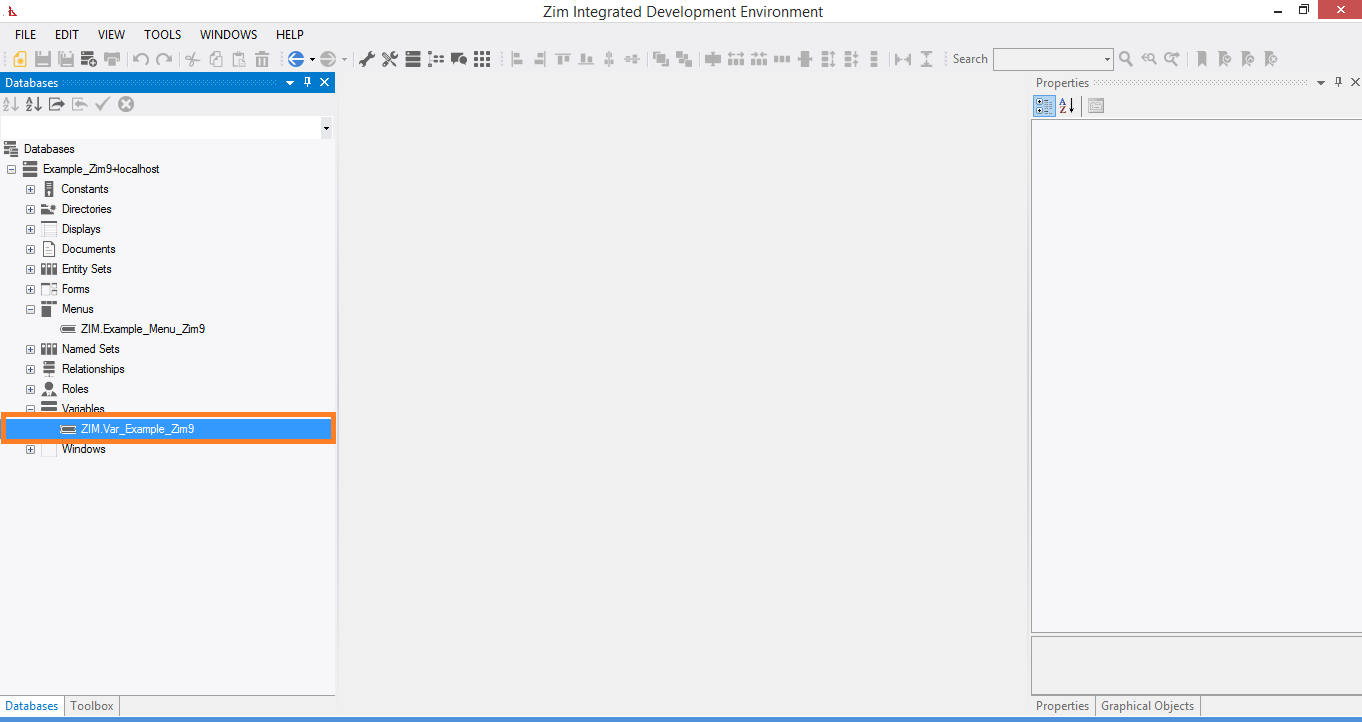
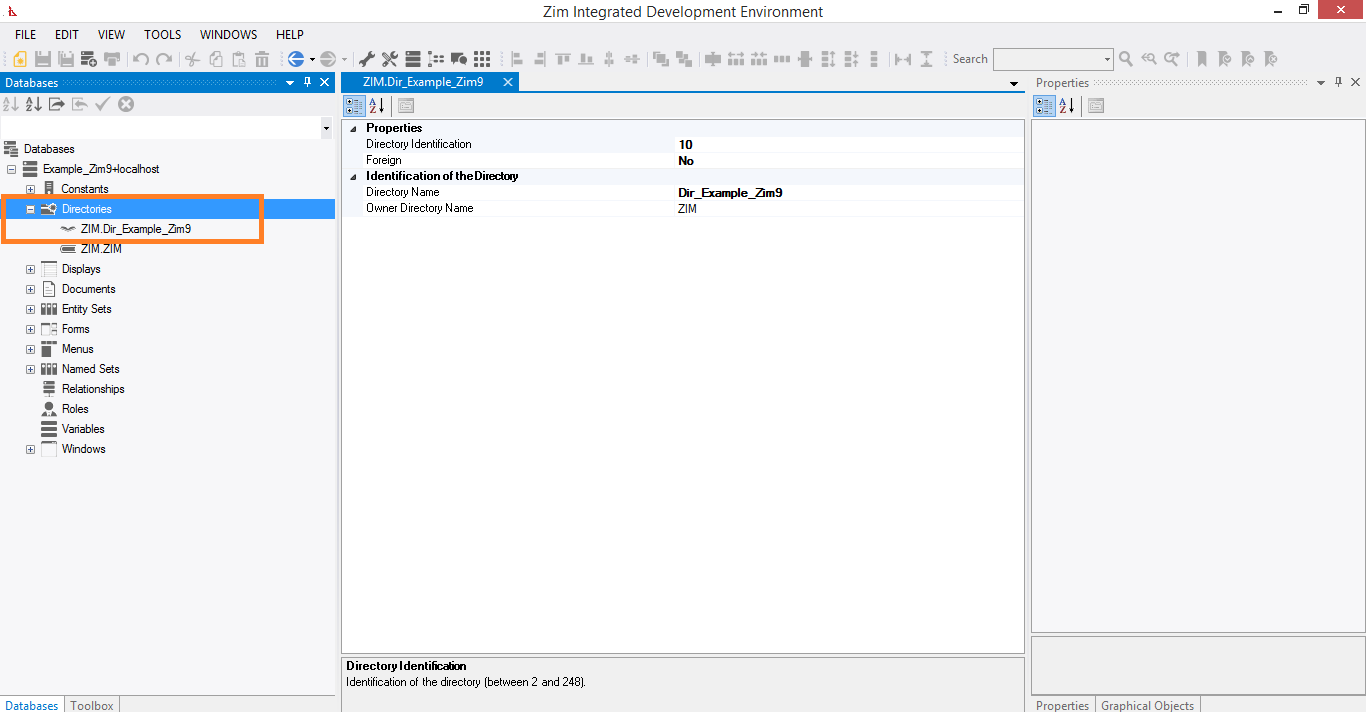
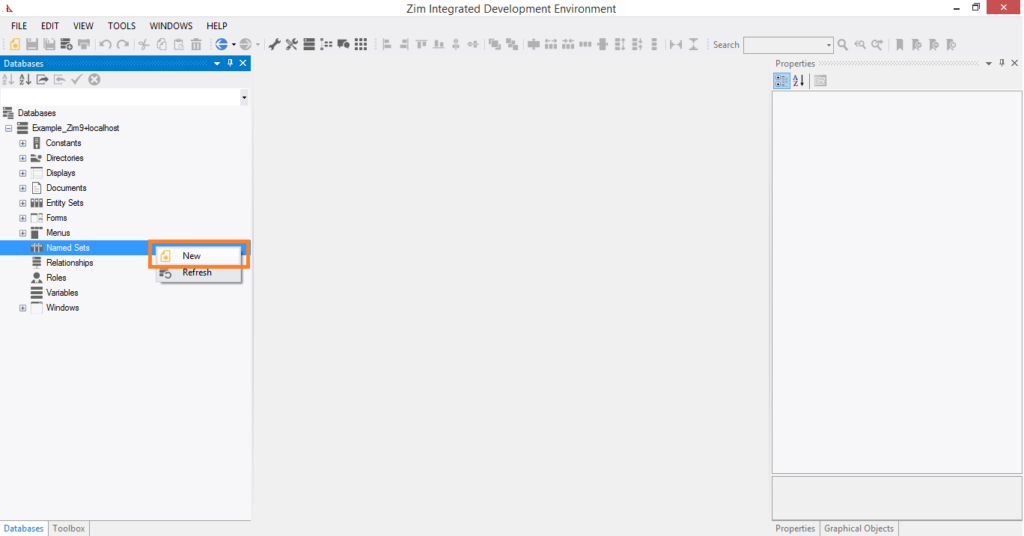
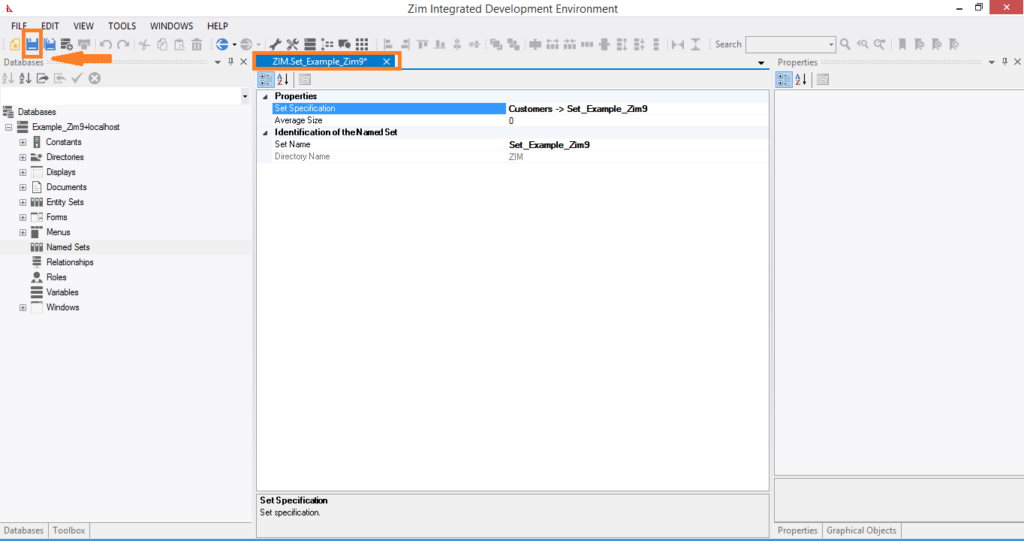
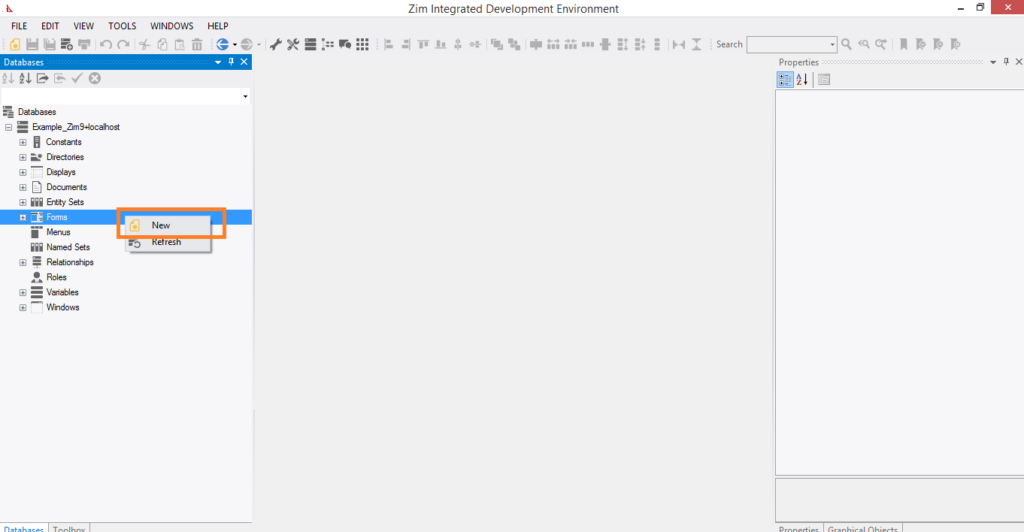
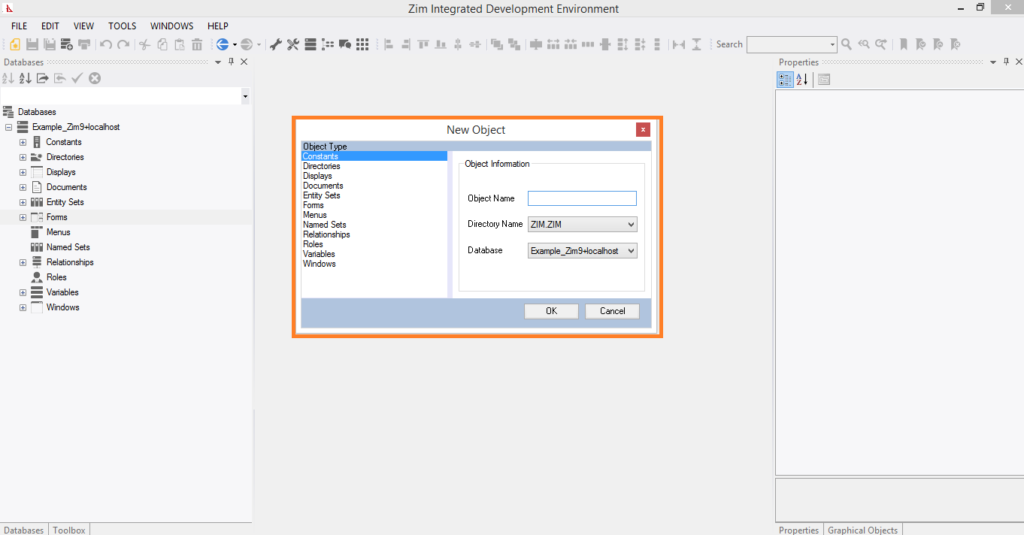
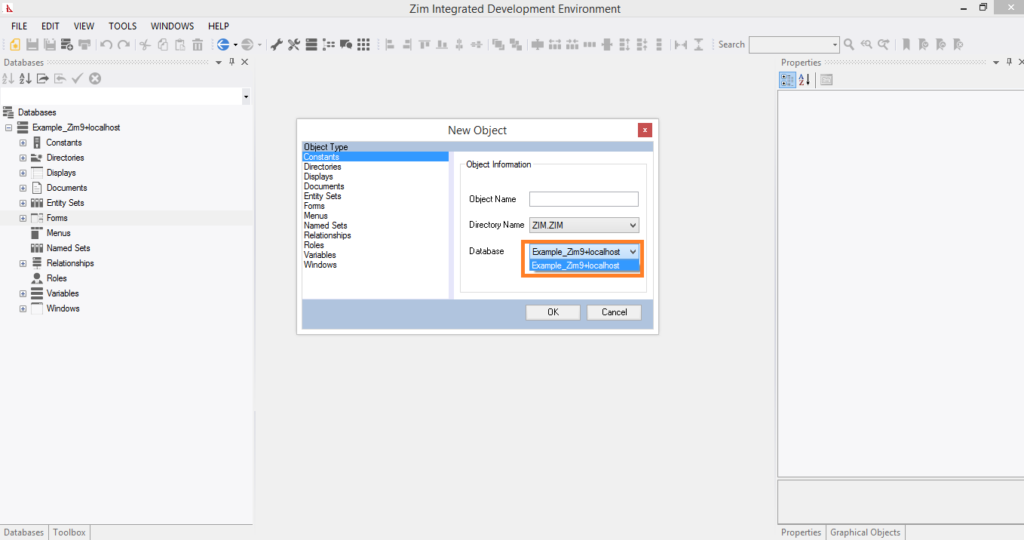
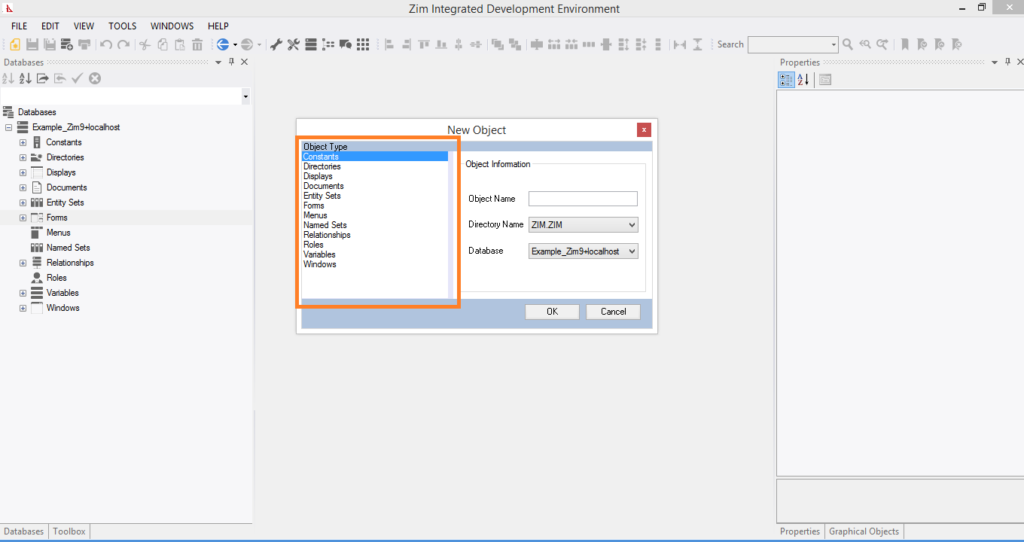
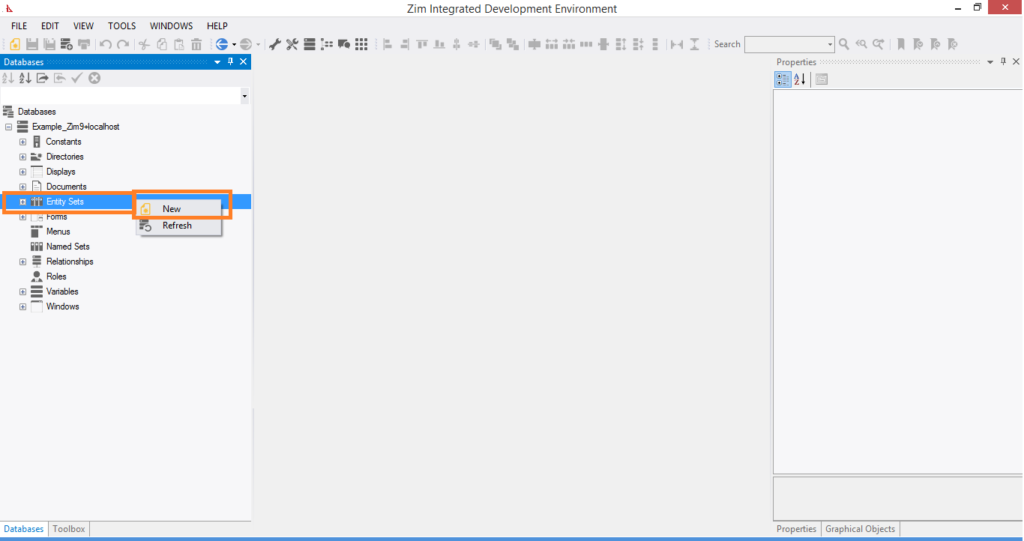
  • Data Dictionary Browsing: Browse the entire data dictionary through the Tree View Tab Page.

Graphical User Interface Designer:

New UI Objects for Zim 9.50:

  • Grid Control: Enhanced from Zim 7.x.
  • Tab Control and Tab Page: Managed automatically by the client, requiring no extra Zim code.
  • Tool Strip: New addition for streamlined UI design.

New Attributes for Form Fields:

  • Anchoring: Control the positioning of form fields.
  • Docking: Manage the alignment and docking of form fields.
  • Attributes Tab Page: Configurable to be always visible for easy access.

Simultaneous Object Editing: Create and edit multiple objects at the same time. Modern Tabbed Interface: Each Form, Display, Window, Menu, and Document stays open in its own tab page for efficient multitasking.


Document Editor:

Specialized Editor: Embedded editor designed for Zim application programs and other documents. Syntax Highlighting: Customized for the Zim language to improve readability and reduce errors. Region Expanding and Contracting: Easily manage code regions for better organization. Custom Editor Support: Set a custom editor to tailor the development environment to your specific needs and preferences.

$editor Object:

  • Syntax: $editor
  • Return Value: A character string that can be reset by an application program.
  • Description: The name of the text editor software for editing programs. By default, $editor is set to the name of an editor commonly used on the current operating system or to the value of the editor in the registry. Since Zim-X 9.50, the default editor is set to “IDE”. The name should include the full disk path if necessary, and special file path indicator characters can be used. The value of this object is used by the EDIT command.
  • Example: let $editor = "c:dosedit.com"

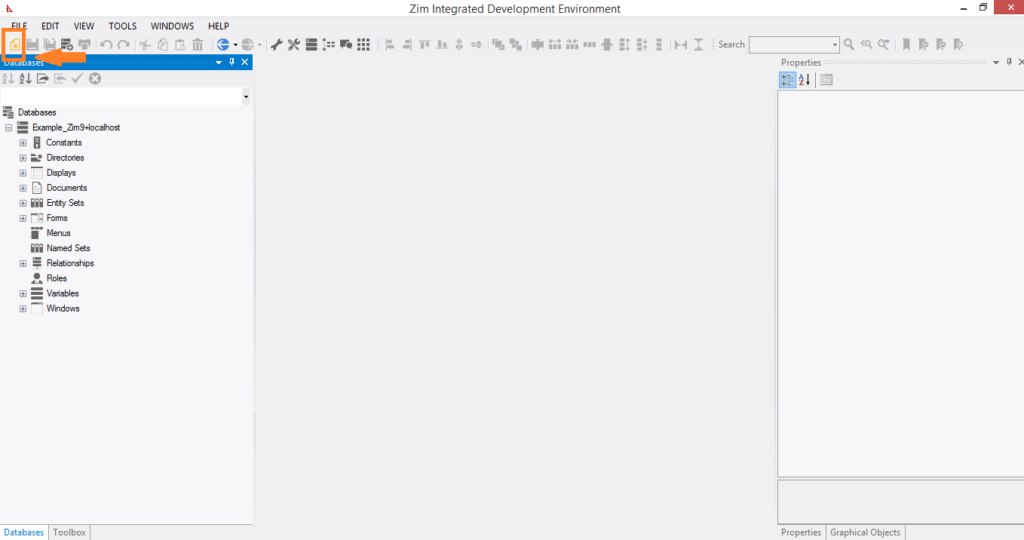
Database Viewer Tab Page:

Simultaneous Database Browsing: Browse every database currently connected to the development environment in a single tab page.


Technical Overview:

Integration of Development Components:

  • Zim Painter: A powerful tool for designing and editing graphical user interfaces.
  • Zim Development Center: Provides a comprehensive environment for developing and managing Zim applications.
  • Data Dictionary Browser: Allows developers to browse and manage the data dictionary with ease.

Multiuser and Remote Development:

  • Local and Remote Development: ZimIDE supports both local and remote development, enabling flexibility and collaboration.
  • Multiuser Support: Facilitates collaborative development, allowing multiple users to work on the same project simultaneously.

Platform Compatibility:

  • Cross-Platform Support: ZimIDE is compatible with Windows, Linux, iOS, and Android, ensuring that applications can be developed and deployed across diverse environments.

Advanced UI Design:

  • New UI Objects: ZimIDE introduces new user interface objects such as Grid Control, Tab Control, and Tool Strip, enhancing the design capabilities.
  • Form Field Attributes: New attributes like anchoring and docking provide greater control over form field positioning and alignment.

Efficient Development Interface:

  • Tabbed Interface: The modern tabbed development interface allows developers to keep multiple forms, displays, windows, menus, and documents open simultaneously, improving multitasking and efficiency.

Enhanced Document Editing:

  • Embedded Document Editor: The specialized editor for Zim application programs offers syntax highlighting and region management, making code editing more efficient and error-free.
  • Custom Editor Support: Developers can set a custom editor, allowing for a personalized and optimized development experience.

Comprehensive Database Management:

  • Database Viewer: The Database Viewer Tab Page allows developers to browse all connected databases simultaneously, streamlining database management.


Relationships

A relationship is a data object that defines and establishes an association between entity sets.

A relationship may, in addition to expressing an association between entity sets, act as a repository for some portion of the data managed by the application. There are therefore two classes of relationships: those with fields (containing data) and those without.

Establishing a Relationship

Access the Zim IDE, select RELATIONSHIPS from the DataBases menu and use the Zim IDE Development tools to define the desired relationship.

Creation of Relationship step by step:


Documents

Defines external files or devices.

A document is a programming object which identifies, to Zim, a line-oriented device or text file in your operating system, giving you the means to access that device or file in your application programs.  A document may be unstructured (e.g., containing straight text or a program), or it may be structured (e.g., containing tabular data in discrete fields).

Establishing a Document

Call up the Zim IDE, select DOCUMENTS from the DataBases menu, and use the tools of the Zim IDE Development to define the desired document.

Creation of Documents step by step:


EntitySets

Defines database files.

An entity set is a data object or a repository for some portion of the data managed by the application.

Establishing an Entity Set

Call up the Zim IDE, select ENTITY SETS from the DataBases menu, and use the tools of the Zim IDE Development to define the desired entity set.

Creation of Entity Sets step by step:


Variables

Describes global variables. A variable is a programming object that provides a method of handling temporary data required for various purposes during application execution.

Zim provides a number of pre-defined system variables and sets or resets their values at various times.  For details, consult your Language Reference.

Establishing a Global Variable

Call up the Zim IDE, select VARIABLES from the DataBases menu, and use the tools of the Zim IDE Development to define the desired Variables.

Creation of Variables step by step:


Directories


A directory is an application object. Application directories are used to organize the objects defined in the Object Dictionary for the application.

Establishing an Application Directory


Call up the Zim IDE, select DIRECTORIES from the DataBases menu, and use the tools of the Zim IDE Development to define the desired directory.

Creation of Directory step by step:


Roles

Defines alternative names for entity sets, relationships or for subsets of an object’s members.

A role is a programming object that provides an alternative name for a data object or for a subset of the members of a data object.

Establishing a Role

Access the Zim IDE, select ROLES from the DataBases menu and use the Zim IDE Development tools to define the desired role.

Creation of Roles step by step:

NamedSets

Defines named sets. A Named Set is a programming object that identifies the components of a set that is used regularly in an application.  Named sets reduce the amount of code needed to run your application.  For example, if you are creating a database with an Customers Entity, you may want to have a set called “sMyCustomers”.  Find all Customers -> sMyCustomers.  So now that you have an Object called sMyCustomers, you can reference it anywhere if you program by calling the set.  If you add a new Customers record, you will have to add the new record to the set like this:

Find all Customers -> sMyCustomers
Add 1 Customers let Name = ... (include all of your customer fields) -> sAdded
Find sMyCustomers UNION sAdded -> sMyCustomers

This is a fast and simple way of updating the Named Set sMyCustomers without having to query the entire Entity again.

Establishing a Named Set

Call up the Zim IDE, select NAMED SETS from the DataBases menu, and use the tools of the Zim IDE Development to define the desired set.

Creation of Named Set step by step:

Creating New Objects


Creating User Interface Objects

User interface objects are created using the New Object dialog. There are two ways to open this dialogue:

✓ From the Main Menu

✓ From the Menu Toobar

✓ From the Database Tab Page

From the Main Menu

✓  Select File then click on New.

From the Menu Tool Bar

✓  Click on the New icon in the Menu Tool Bar:

From the Database Tab Page

✓ Right-click on the type of object to be created and click on New:

✓ The New Object dialog will pop up.

The New Object Dialog

✓ If you are connected to multiple databases, make sure you select the correct database to which you want to add this new Zim object.

✓ Select the type of object that you wish to create.

✓ On the right side panel name the object you are creating, and select/define the dimensions if applicable.

✓ Click on the “OK” button to create the object.

Creating Database Objects

✓ From the “Database” tab, navigate to the type  of object you wish to create, right click on the object, and select “New” from the right click menu.

✓ The default attributes of the newly-created database object will appear in the GUI Designer page tab ins, since such objects have no visual attributes.

✓ If necessary, Modify the default attributes of the Database object created

en_CAEnglish