Database Object Browser

Browsing Objects by Type

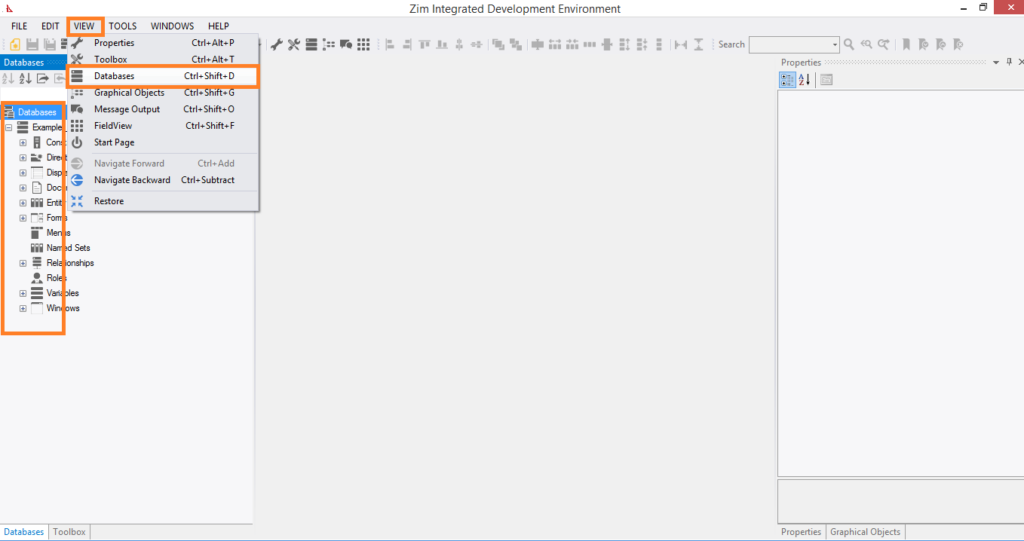
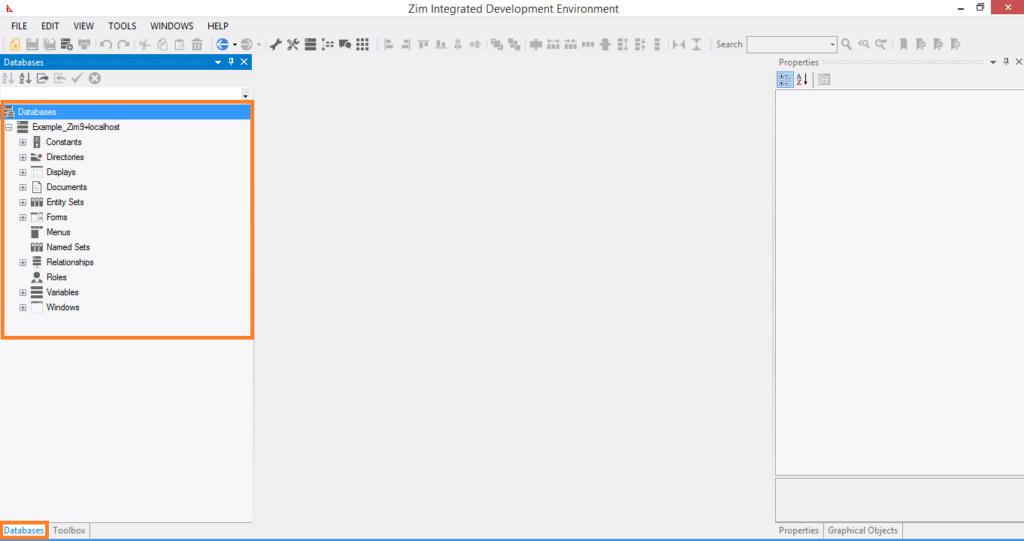
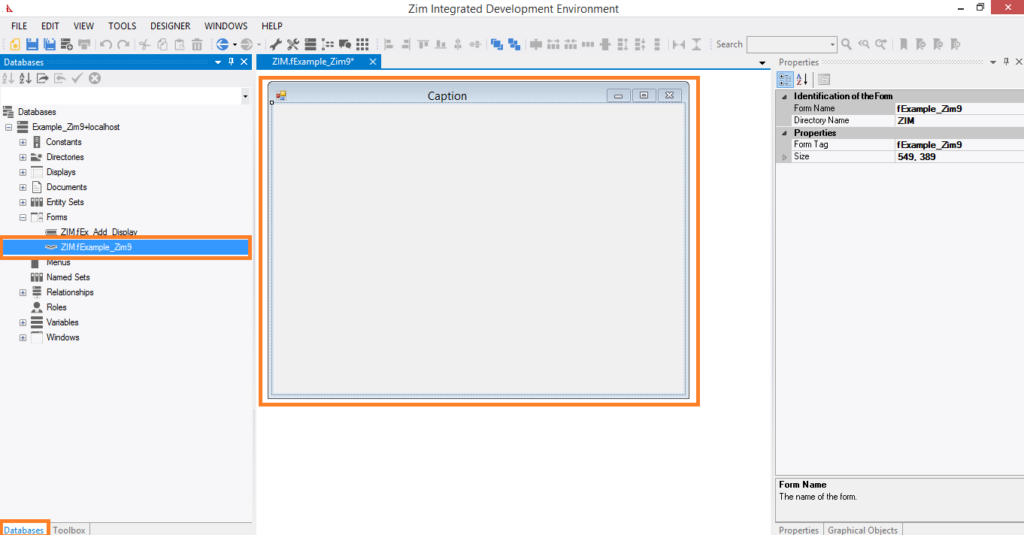
The Object Browser provides a concise representation for database objects that belong to the selected database.

In the treeview, each database node has a child node labelled Objects, which in turn contains one child node for each object category.

Clicking on a particular category node will result in the Object Grid displaying only the database objects of the that category.

Each object occupies a single row and each of the object’s properties will be represented in a single column.

Object Categories

The table below lists all object categories that can be viewed in the Object Browser.

Also listed are the equivalent Zim:X commands that can be issued from a Zim:X client to retrieve the same objects.

To view more information about a specific object category, click on the category name in the left column.

Object CategoryExecuted ZOM Command
Entity Setslist all entitysets or list all ents
Documentslist all documents or list all docs
Constantslist all constants or list all consts
Variableslist all variables or list all vars
Formslist all forms
Windowslist all windows or list all wins
Displayslist all displays or list all disps
Menuslist all menus
Roleslist all roles
Relationshipslist all relationships or list all rels
Setslist all sets
Directorieslist all directories or list all dirs

Querying Databases

The Database Object Browser also provides an interface for issuing Zim commands to query the database.

For example, to list all the form fields belonging to the form fExample_Zim9, in the database, type the following Zim command in the entry field:

list all ffs where FormName = "fExample_Zim9"

… and press Go.

The form fields will be listed in the Database Explorer grid, where each form field will be represented in a single row and each of its attributes in a single column:

Note: List commands do not generate sets when issued from Zim Explore. If you wish to interact and manipulate objects, use ZXCLIENT or ZXCOMMAND.

Zim Database Configuration

Browsing the Zim Database Configuration

The Zim Database Configuration utility displays and enables editing the contents of the zimconfig.zim configuration file for the selected Zim database.

The column headers in the Zim Database Configuration grid are described in the table below:

ColumnDescription
Option NameThe Zim database configuration option
Current ValueThe value assigned in the configuration file
Default ValueThe default value for this option if no other value is assigned
MinimumThe minimum allowed value for this option
MaximumThe maximum allowed value for this option

.

The table below lists all the available Zim database configuration options. Click on any option to view more information about it.

Zim Database Configuration Options
Activity TimeoutBackscreen HeadingBackscreen hideBackscreen prompt
Century ThresholdDefault CenturyDirectoriesDisconnect Timeout
Disconnect AttemptsDocument Line LengthError TraceFile Extend
Maximum Error Trace SizeMaximum Open WindowsMaximum ParametersParameter Size
Runtime BuffersServer Request TracingSort BuffersSQL Database Name
Transaction RetriesUser Name DirectoryWork Path

Editing the Zim Database Configuration

To change the value of a configuration option, click on the cell in the Current Value column along the row corresponding to the selected configuration option

Type in or select the new value for the configuration option and click on Save to store the new configuration file

The Zim database configuration changes have been accepted and will take effect as soon as Zim Server restarts.

Opening Existing Objects

Opening Objects through the Database Tab Page.

✓   In Zim IDE, the Database Tab Page can be accessed by clicking the Database Tab at the bottom-left of the screen or the Database Tab Page Icon on the View Menu bar.

✓   The Database Tab Page will become visible on the left side of the Zim IDE window.

✓   Browse the objects in the tree view and double-click on the object you wish to open and edit in the GUI Designer.

Designing Form Fields

Note: when painting displays you must add one or more forms to the display first before adding fields.  Forms are the only object that can be directly added to a display.

✓   From the toolbox tab, select the type of object that you wish to add to the current form:

✓   Using the mouse, draw the outline of the field on the form.  Start in the top left position where the field is to be placed and click on the left mouse button.  While holding the mouse button down, position the mouse cursor at the bottom right location of the new field and then release the mouse button.

✓   The field has now been added to the form with a default set of properties.  You may now navigate to the properties tab on the right side of the painter window and change any of the field’s properties.

en_CAEnglish