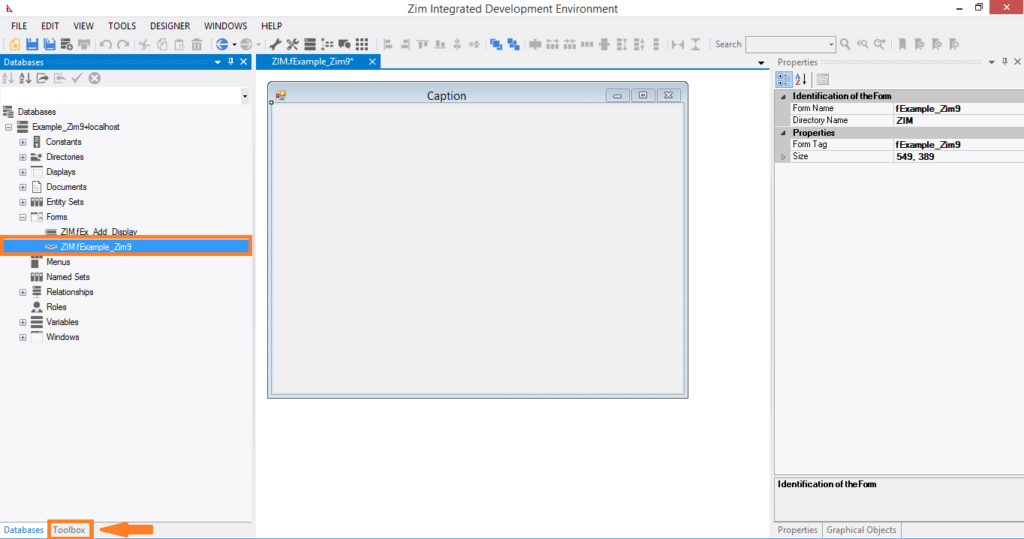
✓ From the Database tab, open an existing menu by double clicking on the menu name or
From the main menu (File -> New, or the “New” icon in the menu toolbar), create a new menu object or
Open a form/display with an associated menu.
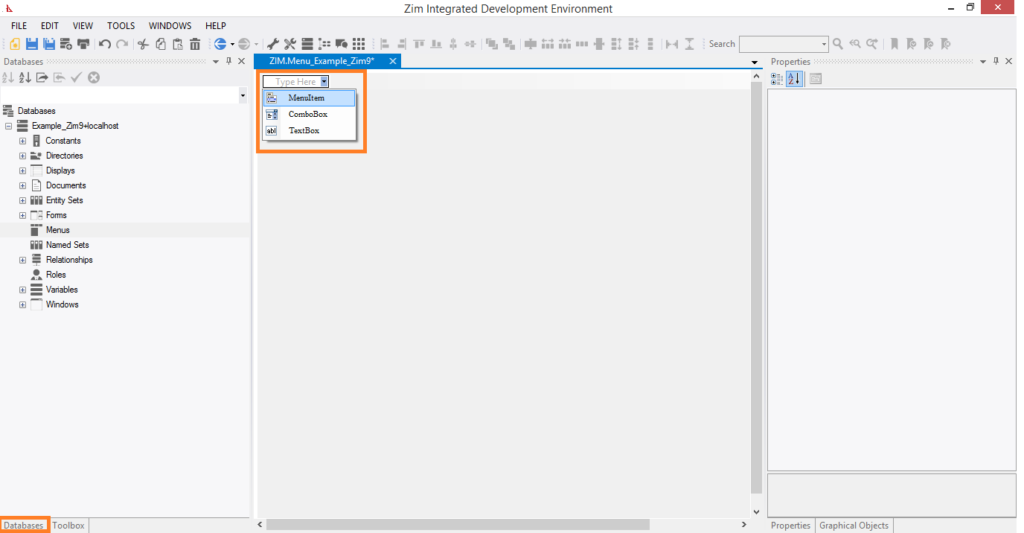
✓ Add a menu item.
Click on the menu bar where it says “Type Here” and a new menu item will be added immediately at that location.
Note: As long as you see a menu item that still says “Type Here”, that menu item has not yet been added to your menu and will not be saved. The IDE is showing the available locations where a menu item can currently be added.
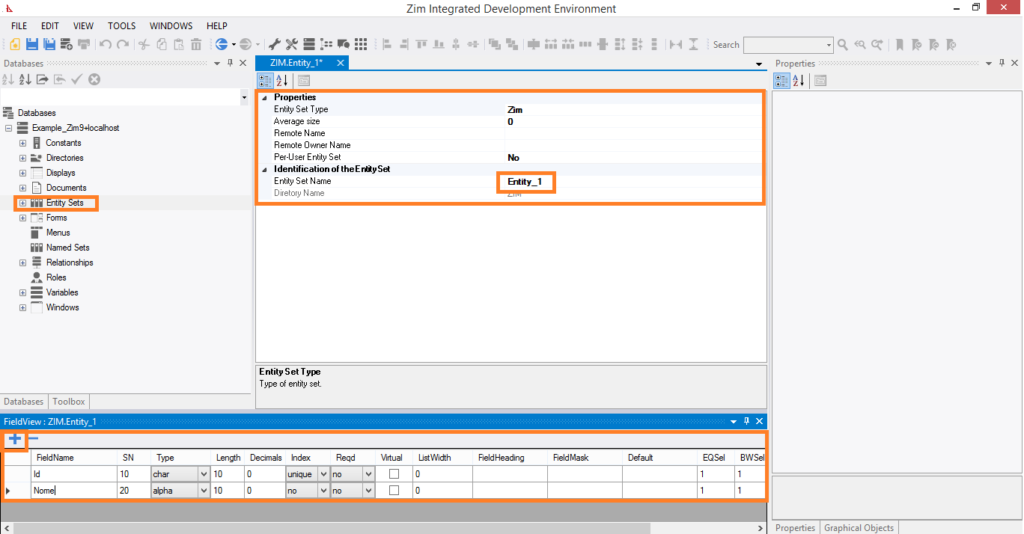
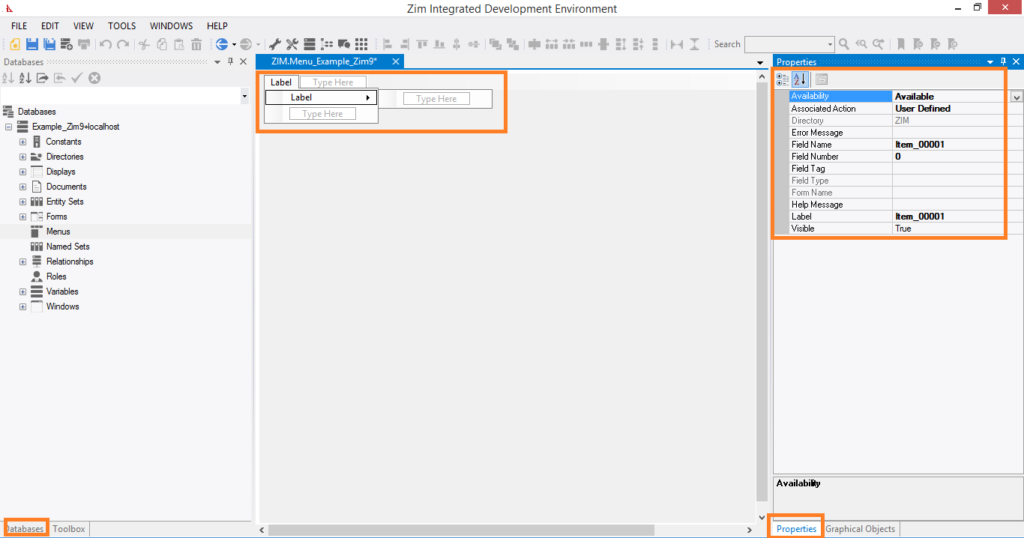
✓ Edit menu item properties.
On the right hand side of the painter window, select the properties tab to view/change the available properties for the currently selected menu item, and to see the children of that menu item listed at the bottom of that tab.
To change the location of an item within the menu, drag and drop the menu item to the desired position.
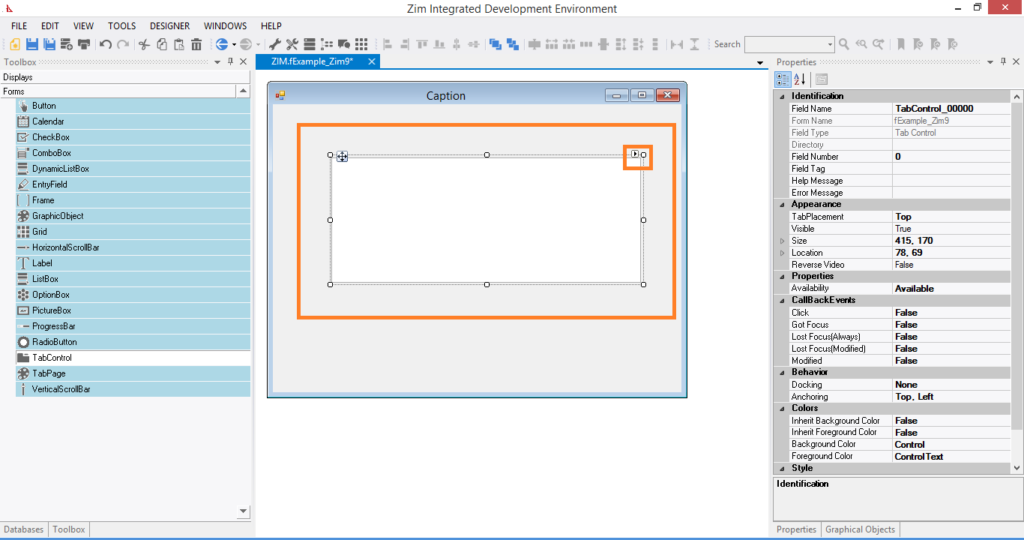
A tab control defines an area of the form in which several tab pages of the same size can coexist.
Tab pages within the same tab control are visually represented as a stacked group of frames, since at any time, only a single tab page can have be displayed and the input focus.
As such, the active tab page within the tab control appears on the top of the stack, above all other inactive tab pages.
Tab Controls and the Tab Pages are both container objects. Tab Control can only contain tab pages, but tab pages can contain all other form fields, including other tab controls.
Tab controls and tab pages represent an efficient and practical solution to reuse the same area of a form to present different form controls.
Advantages of Tab Controls and Tab Pages
✓ There are two main advantages of using tab controls and tab pages over previous solutions that combined other form fields:
✓ The operating system directly manages the process of selecting, displaying and hiding tab pages within a tab control. As such, there is no need for writing additional Zim code to implement the functionality of tab controls and tab pages;
✓ The logical hierarchical structure of a tab control object and its children tab pages is maintained visually in the graphical user interface (e.g., all children tab pages will be moved along when a tab control is moved within a form) and in the database structure (e.g,. the tab control appears as a parent node and its children tab pages as children nodes in the Tree View Tab Page).
Adding Tab Controls and Tab Pages to the User Interface
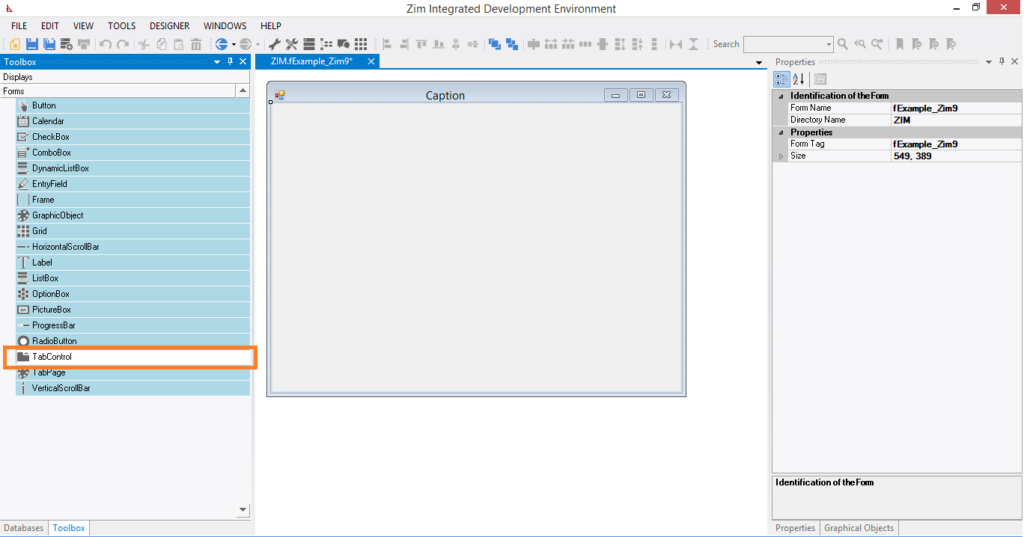
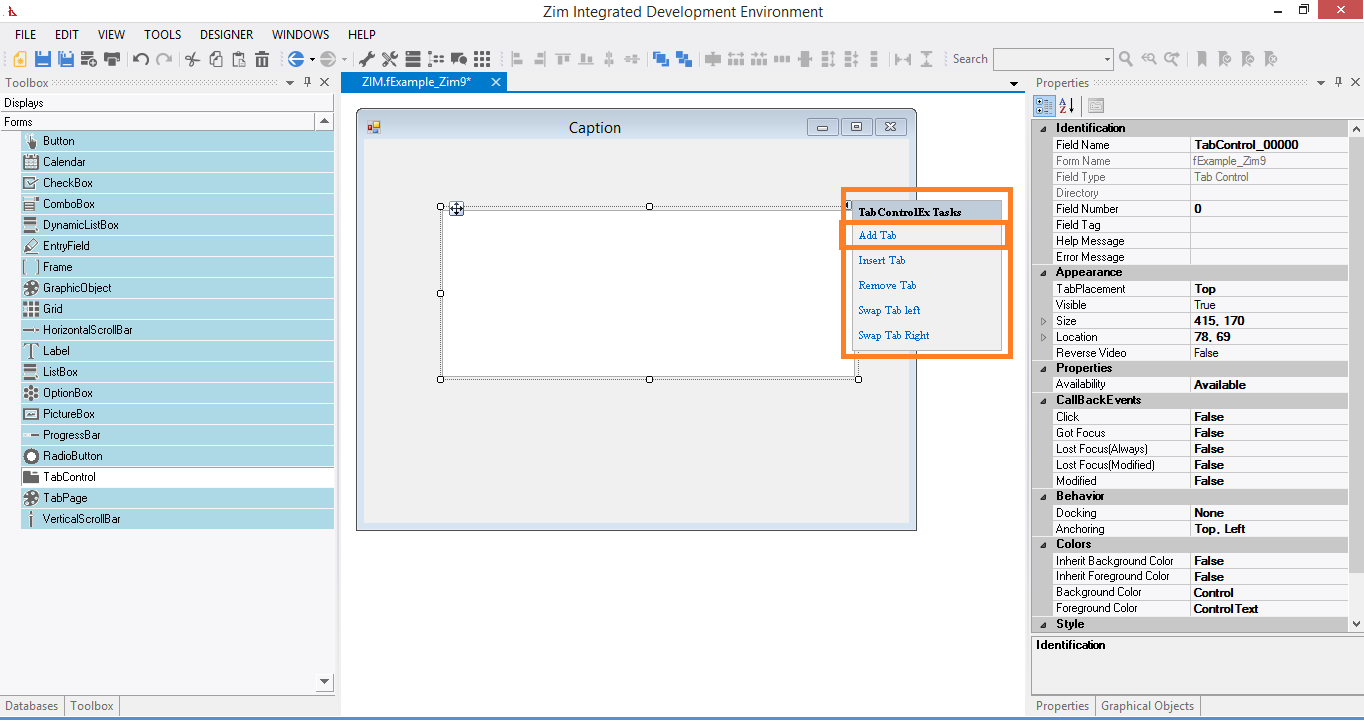
✓ In your current form, add a tab control object from the toolbox tab .
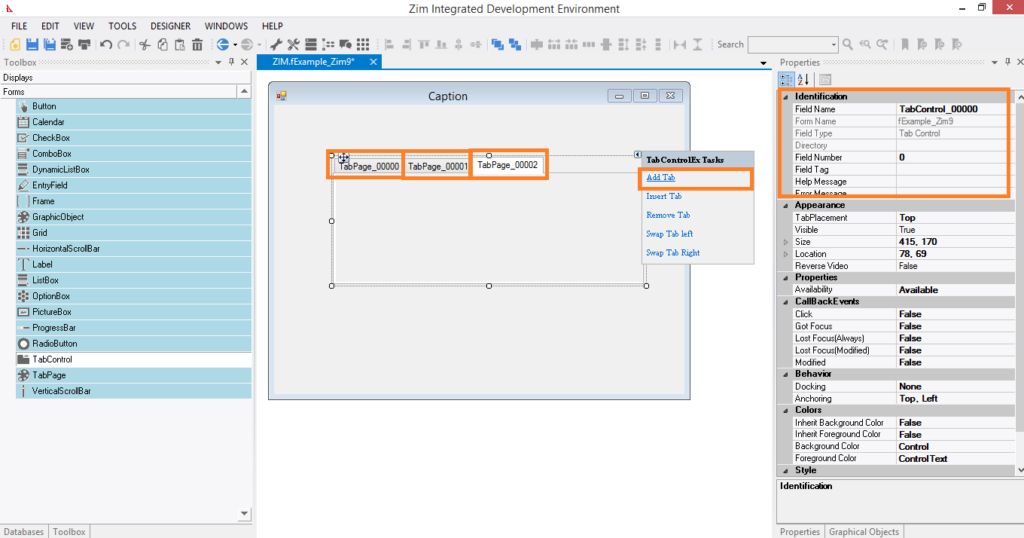
✓ From the toolbox tab, select the tab page object and add at least 1 tab page to the tab control.
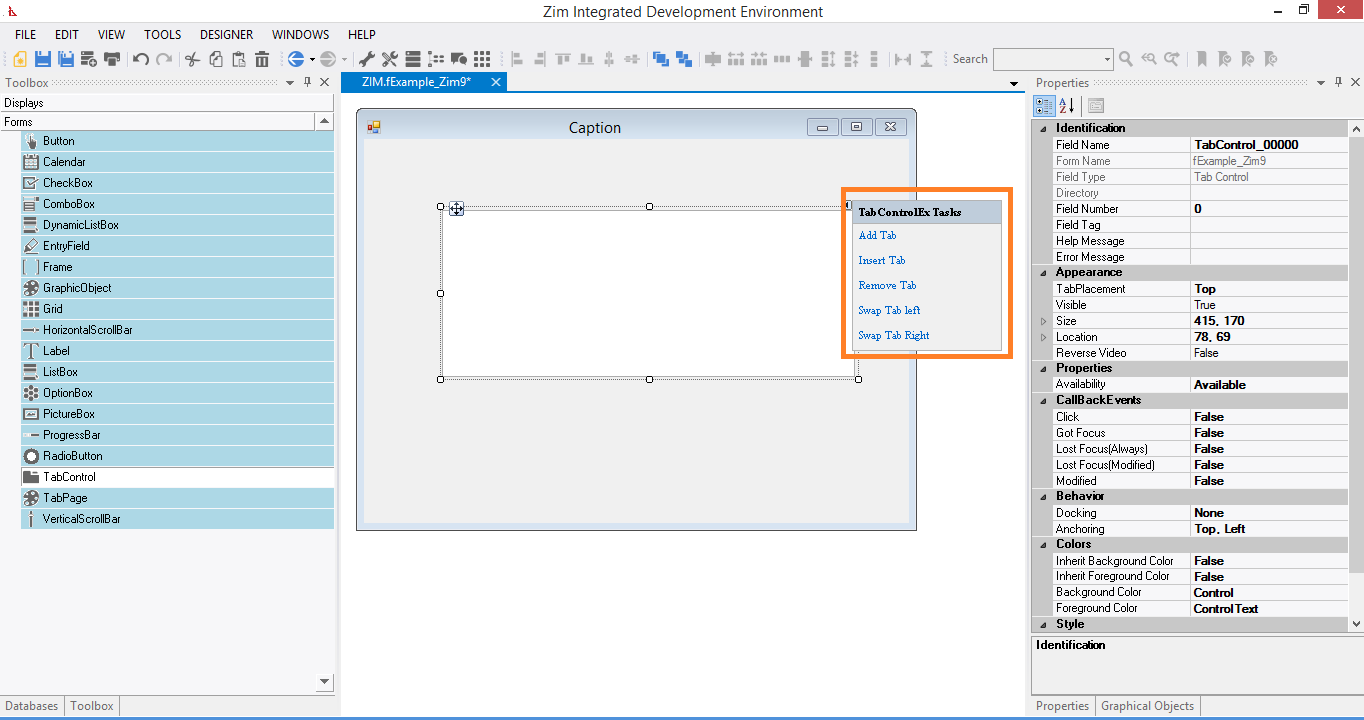
✓ To add user interface objects to tab pages, in the painter workspace double click on the tab header for which tab you wish to add user interface objects to. The tab that has been selected is now the “current” tab page and form fields from the tool box tab can now be added to this tab page.
User interface objects are created using the New Object dialog. There are two ways to open this dialogue:
✓ From the Main Menu
✓ From the Menu Toobar
✓ From the Database Tab Page
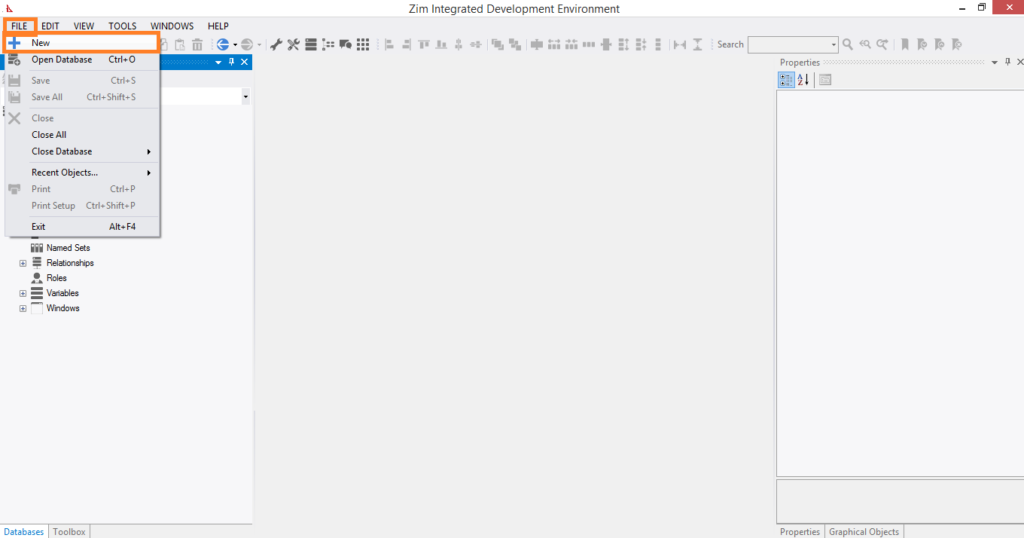
From the Main Menu
✓ Select File then click on New.
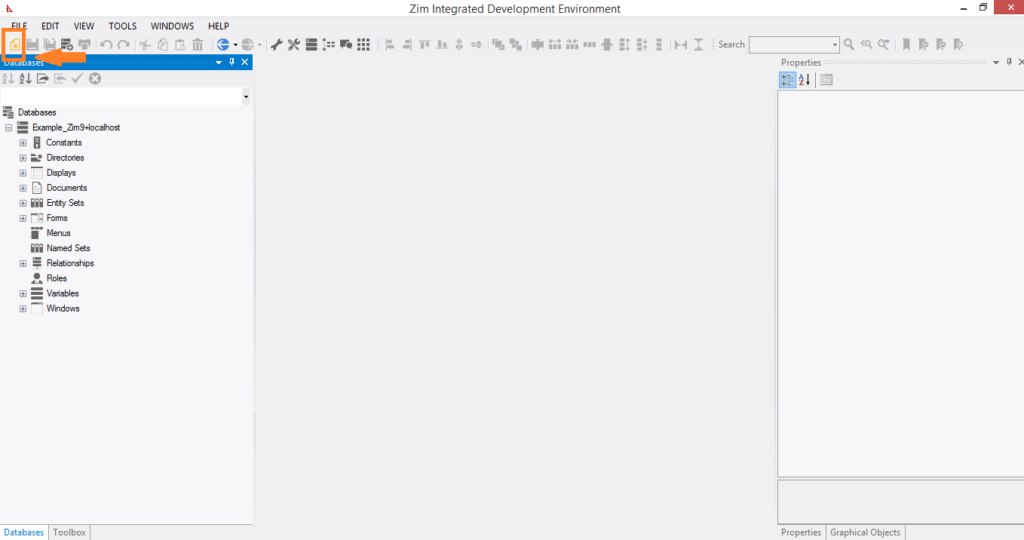
From the Menu Tool Bar
✓ Click on the New icon in the Menu Tool Bar:
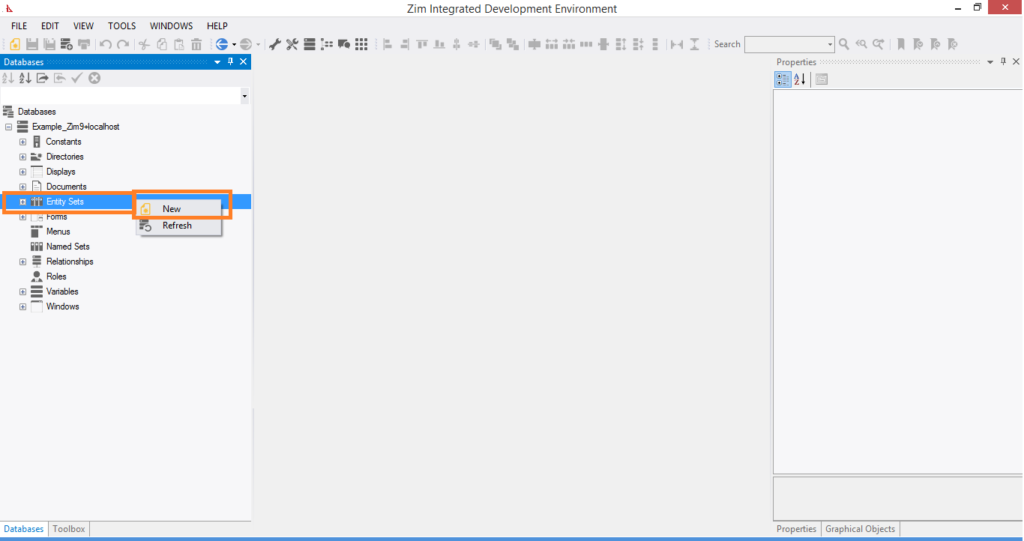
From the Database Tab Page
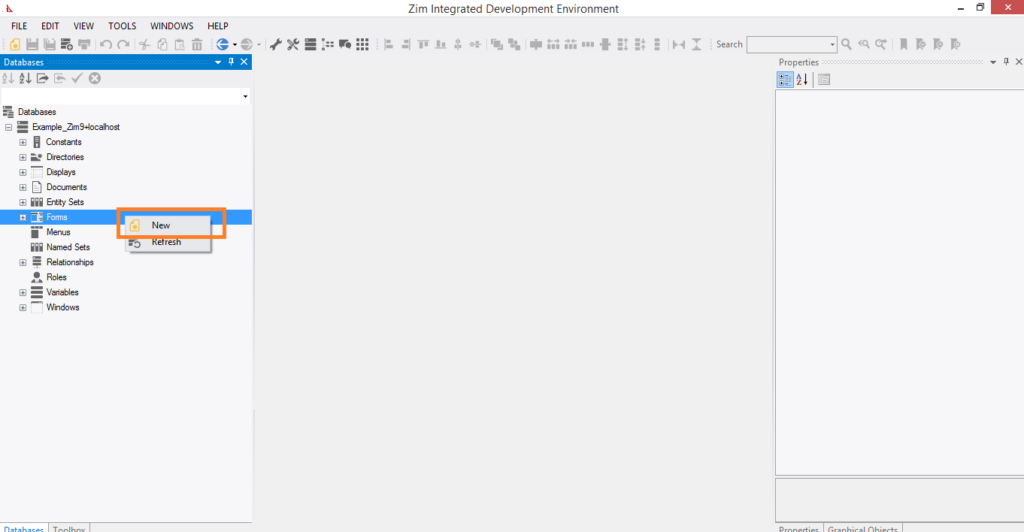
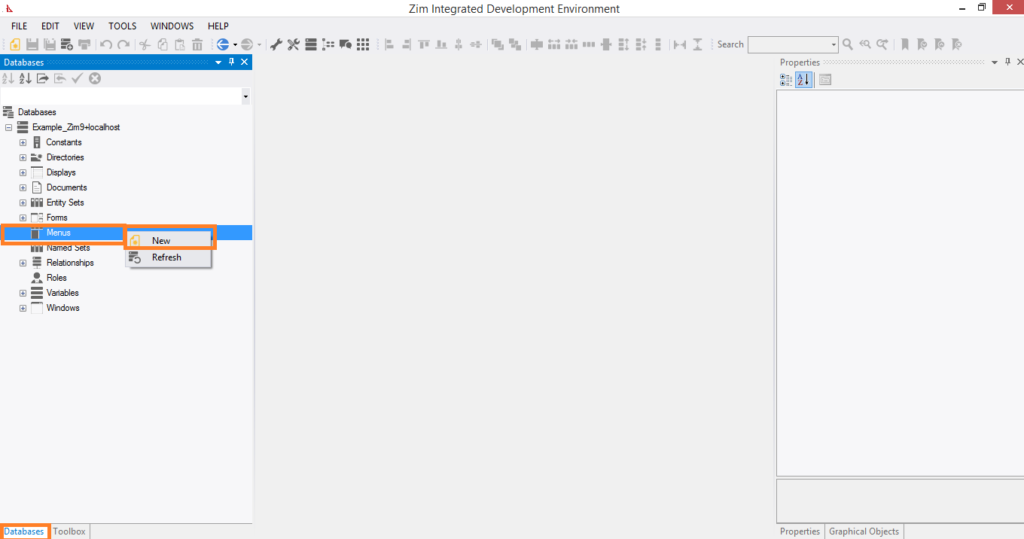
✓ Right-click on the type of object to be created and click on New:
✓ The New Object dialog will pop up.
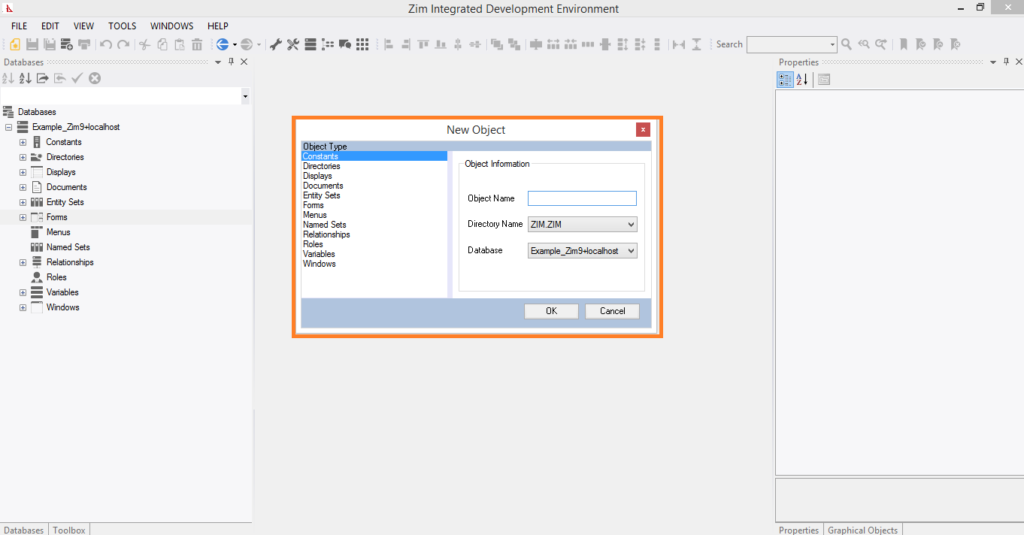
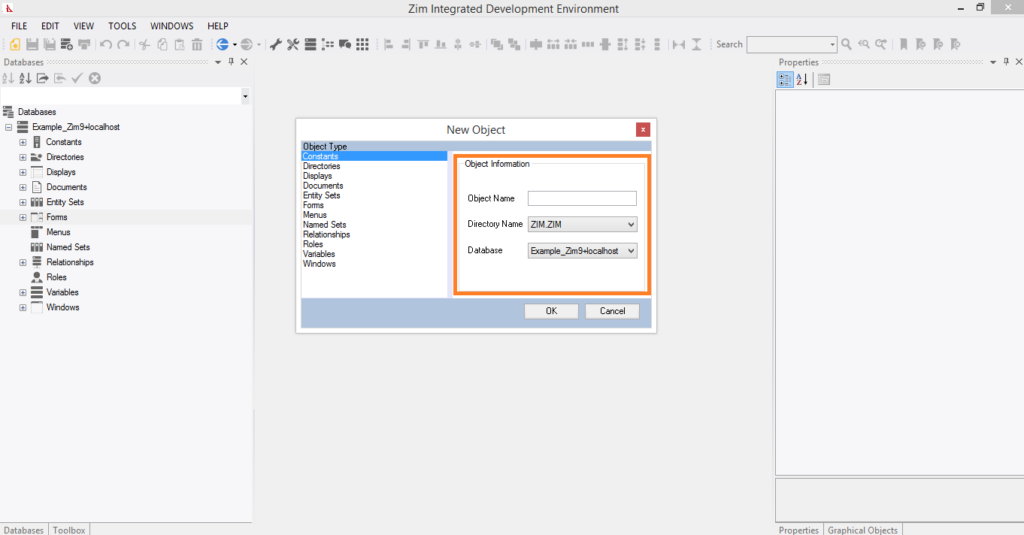
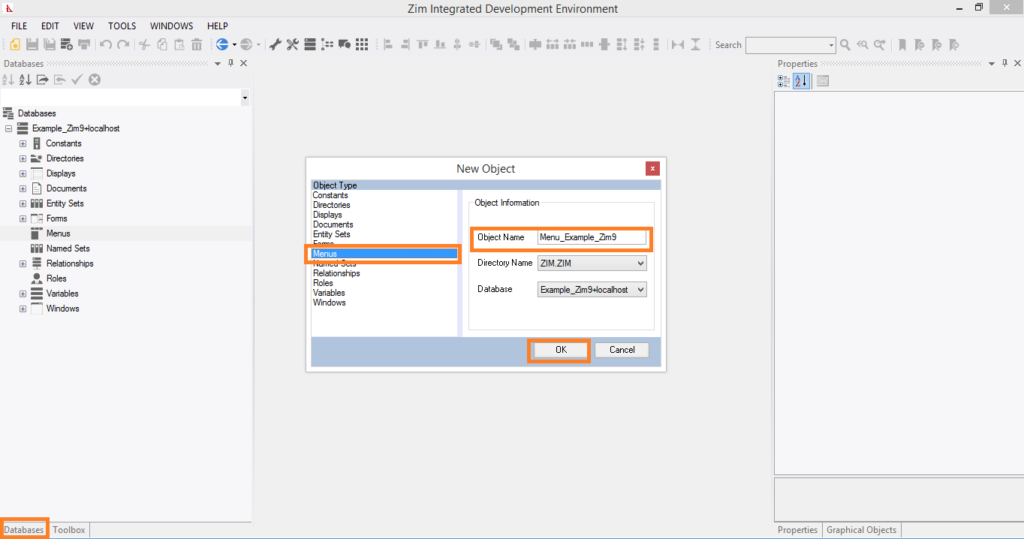
The New Object Dialog
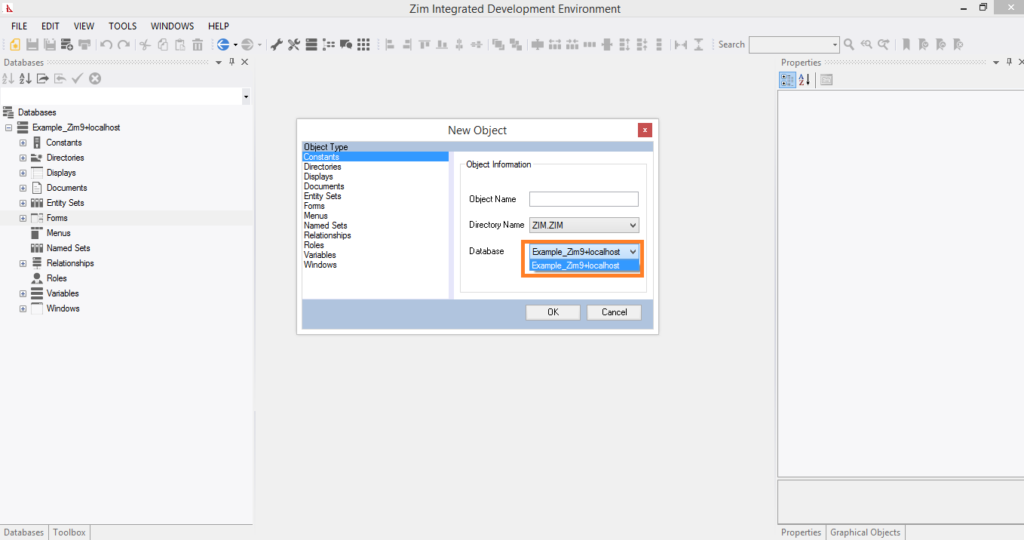
✓ If you are connected to multiple databases, make sure you select the correct database to which you want to add this new Zim object.
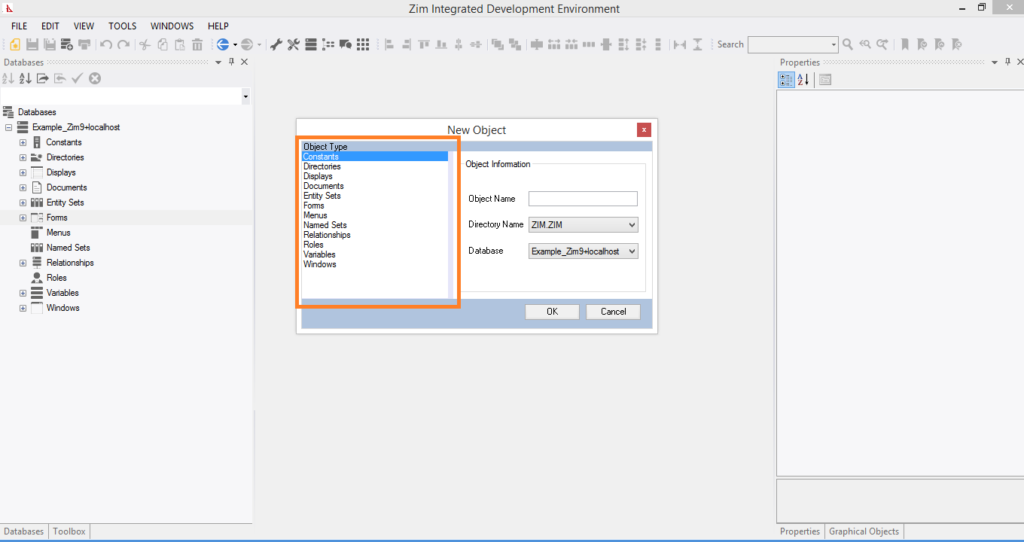
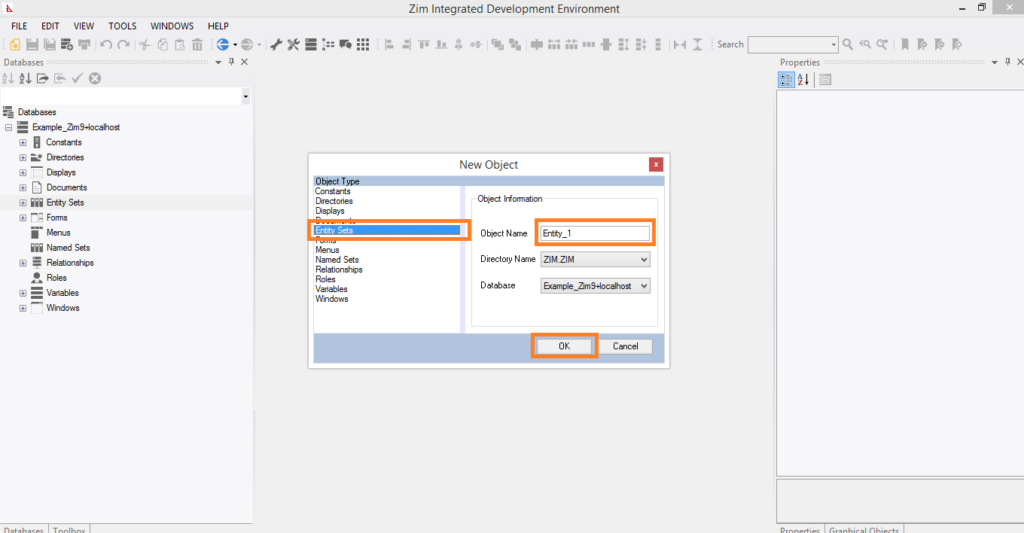
✓ Select the type of object that you wish to create.
✓ On the right side panel name the object you are creating, and select/define the dimensions if applicable.
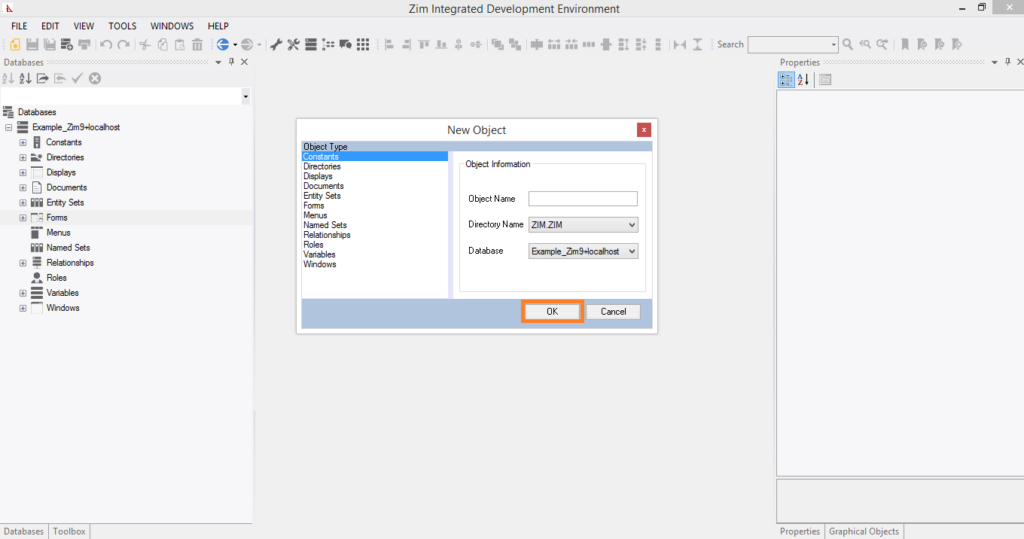
✓ Click on the “OK” button to create the object.
Creating Database Objects
✓ From the “Database” tab, navigate to the type of object you wish to create, right click on the object, and select “New” from the right click menu.
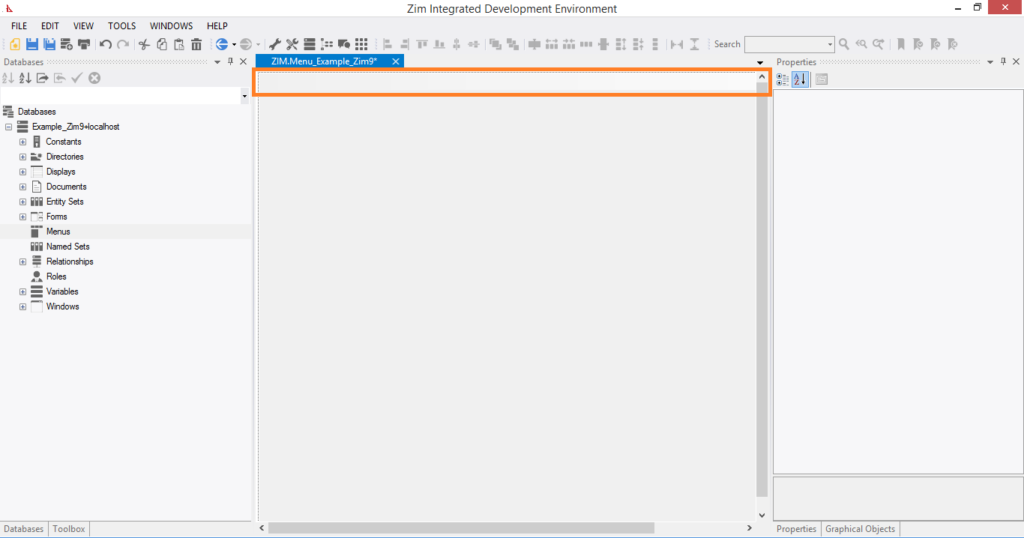
✓ The default attributes of the newly-created database object will appear in the GUI Designer page tab ins, since such objects have no visual attributes.
✓ If necessary, Modify the default attributes of the Database object created
When you are ready to run your application in production mode, you may want to hide the ZIM prompt which is known as the backscreen. You can change the setting dynamically using the $setproperty method. You can also find the current setting using the $getproperty method.
backscreen hide yes | no
Specifies if the application window (BACKSCREEN) is hidden when the client session starts up.
Valid Settings
yes indicates the application window is hidden; no indicates the application window is not hidden at start-up. The default is always no.
This option tells Zim Server to trace all incoming statements either in Zim or SQL from connections established by clients. The statements are logged to zimsvlog.zim. Care should be taken as it generates lots of printing and might result in performance degradation.
where xxx is a three-letter identification to uniquely name Zim compiled programs from one database to another.
If there is to be more than one Zim application compiled against a given SQL server database, you have to uniquely identify each application. Conflicts can occur between programs with the same name.
where nn specifies the maximum length of a line in an unstructured document used for importing data. This option can also be set during a session using the SET DOCLINELENGTH command.

 .
. and add at least 1 tab page to the tab control.