Macro substitution takes place only when the software is parsing a source (uncompiled) program.
During compilation, the software parses the source code and performs macro substitution based on current macro values. The resulting commands are then compile and stored in compiled form.
When the compiled program is executed, its source code is not parsed again. Therefore, changes to macro values in the interim are not reflected when the compiled program is executed.
For this reason, programs that use macros should not normally be compiled.
Problems that can arise
Consider a program called ExtremeCase that contains a single line of code:
#< CommandLine>
The program ExtremeCase could contain any command, depending on the character string value assigned to the macro < CommandLine>.
If ExtremeCase is not compiled, executing the commands
let
ExtremeCase
let
ExtremeCase
is equivalent to executing
list all Employees
form open fTotals
If ExtremeCase were to be compiled at this point, the command that would be compiled is
form open fTotals
From this point forward, executing the compiled program ExtremeCase would always result in the execution of the FORM OPEN command, regardless of the current value of the macro
If you choose to compile
IF you choose to compile programs that use macros, keep the following principles in mind:
- Values for local macros cannot be specified in a call to a compiled macro program
- After compilation, LET and INPUT assignments to a macro have no effect on the value of that macro in the compiled program.
- Global macros should be declared and assigned a value before the programs that call them are completed.
- The software issues a warning when a program that is being compiled contains global macros.
Macros vs Variables
Although macros appear to behave as variables do, they are, in fact, quite different:
- Variables are defined in the Object Dictionary, with a given data type, length, and so on.
- Variables are objects in the application database.
- Variables can be unassigned ($Null).
- The value of a variable can vary at execution time, even in fully compiled applications.
On the other hand
- macros are not defined in the Object Dictionary.
- macros are not objects in the application database.
- macros always have a value; they cannot be $Null.
- macro values are substituted for macro calls when commands are parsed. Data, object names, and entire commands can all be used as macro values.
- macro substitutions are not re-evaluated when a compiled program is executed. Once a program is compiled, changes to the values of macros have not effect on the compiled code.


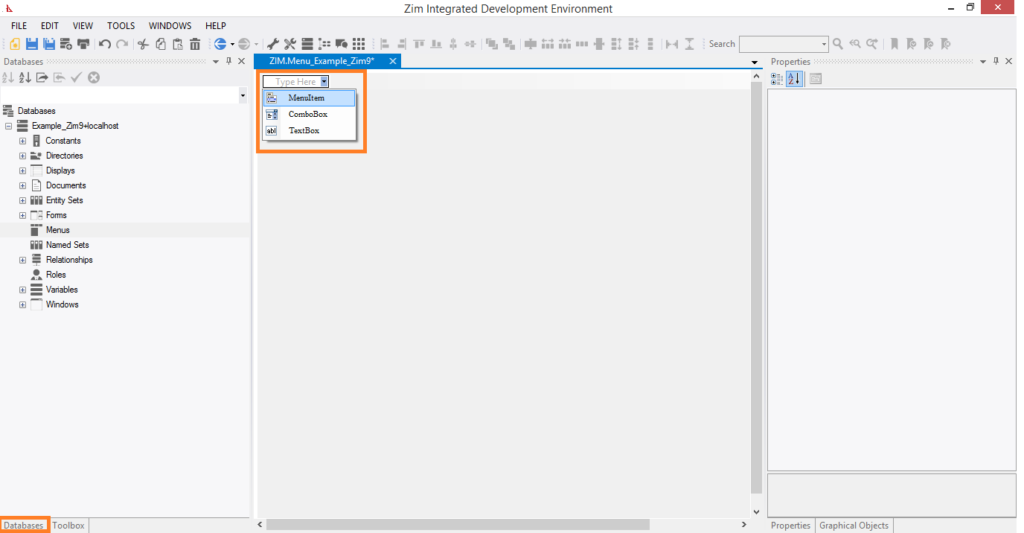
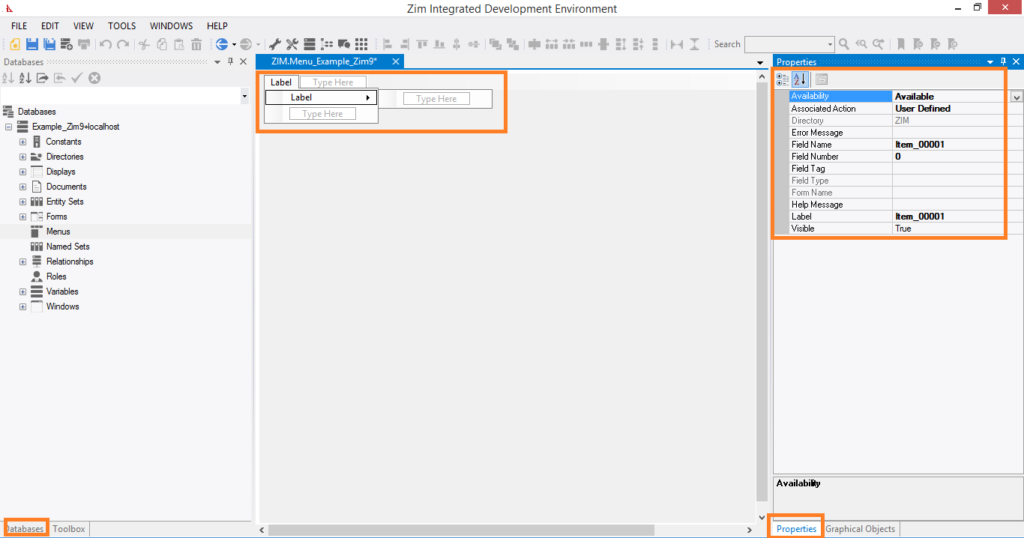
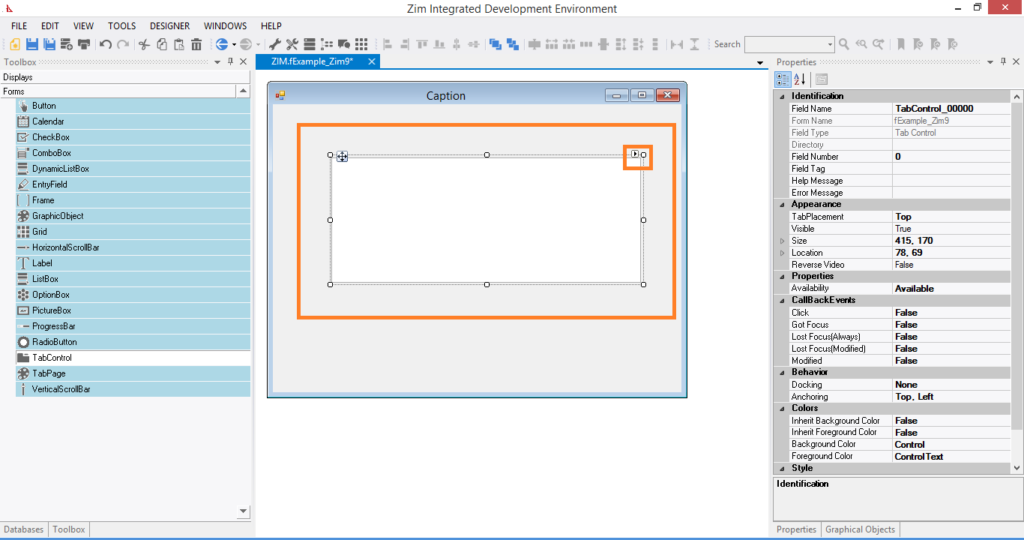
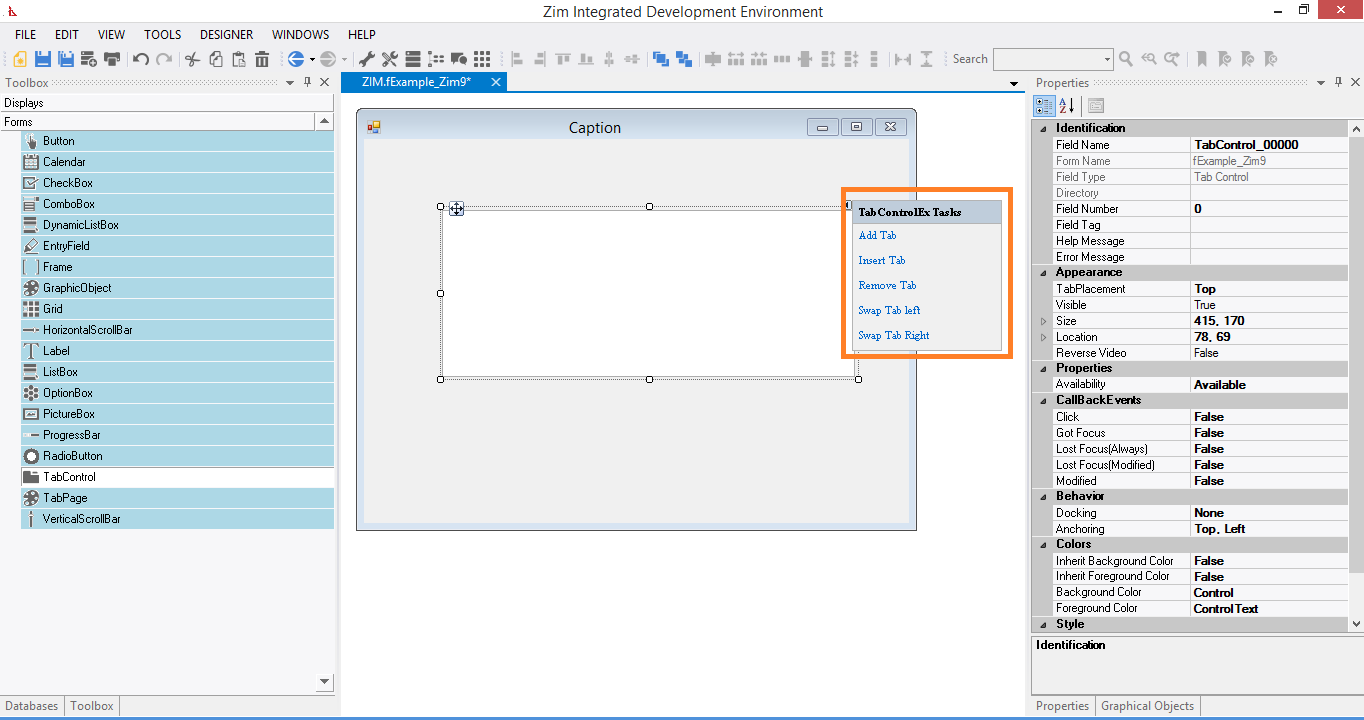
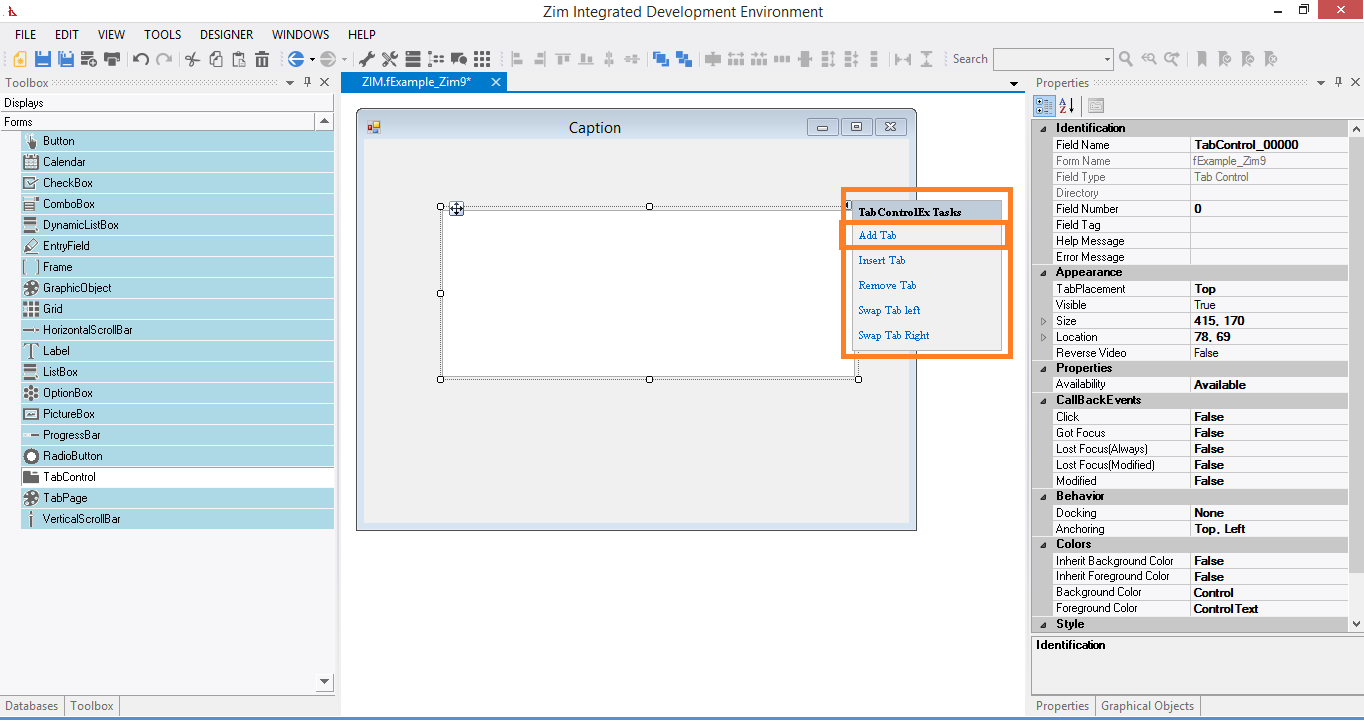
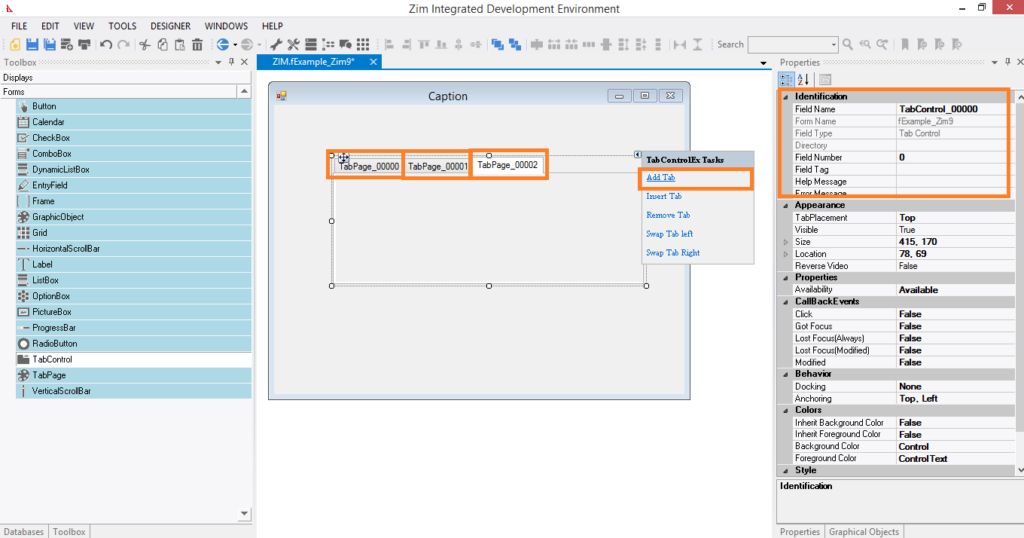
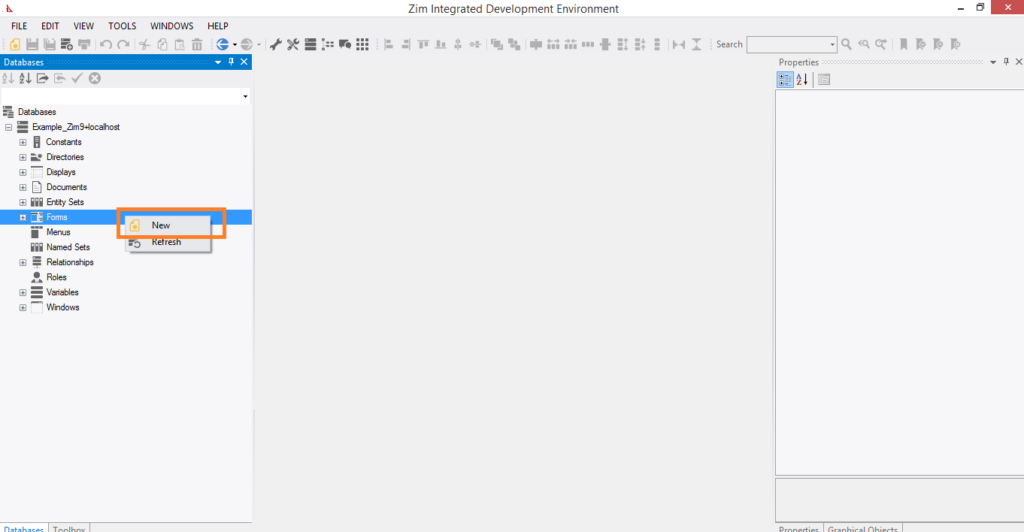
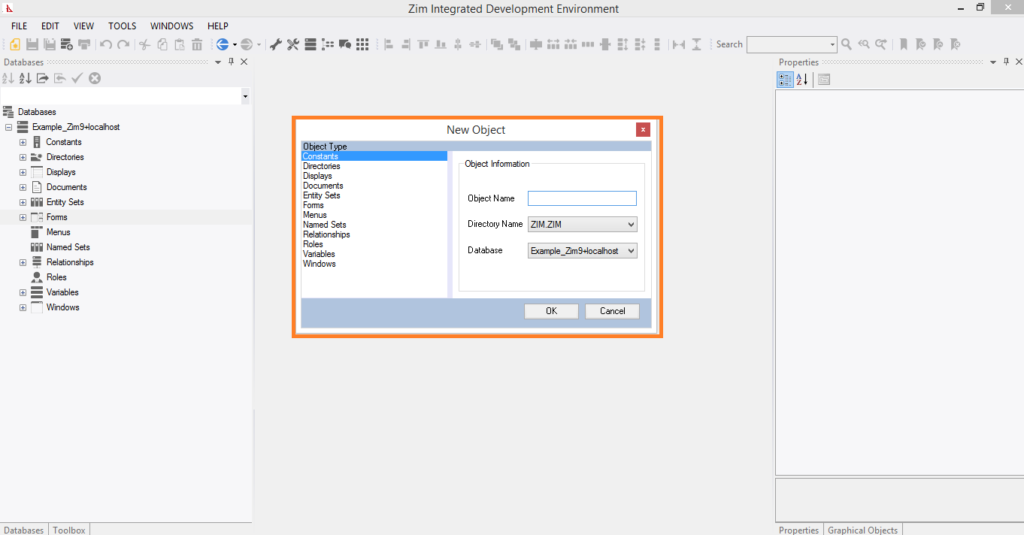
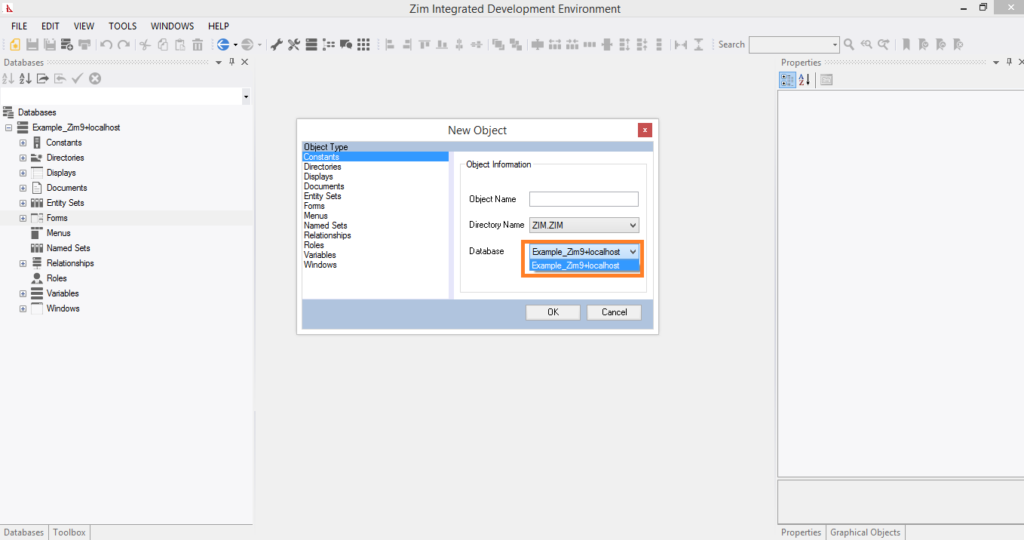
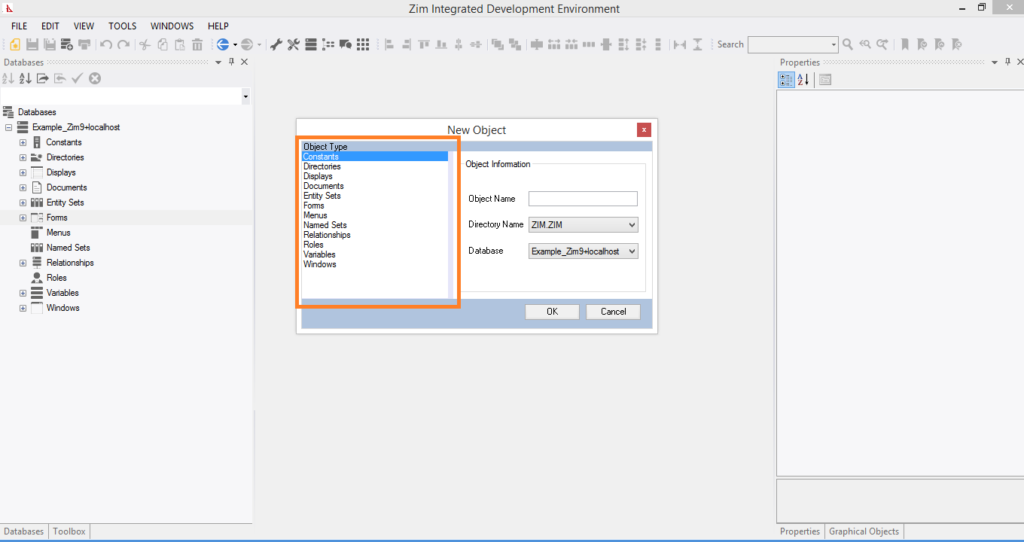
 .
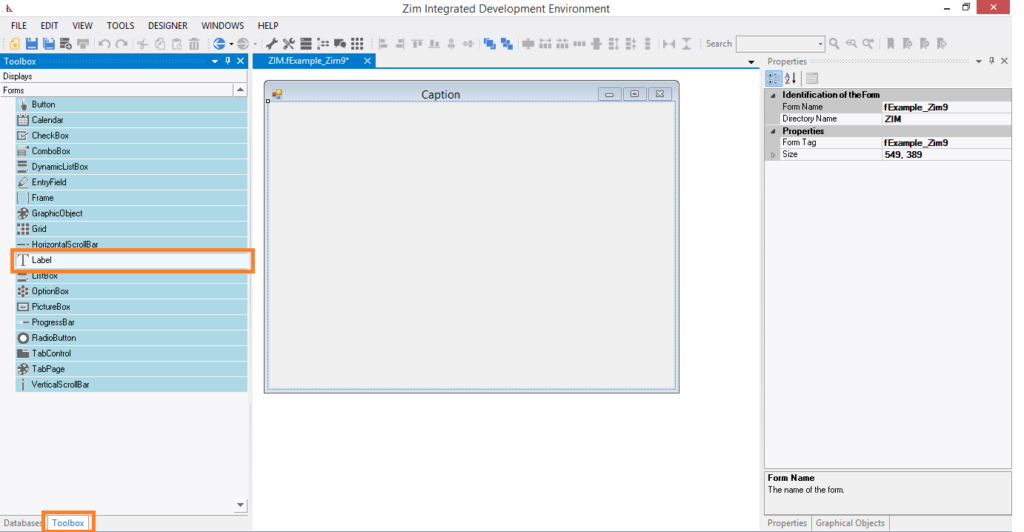
. and add at least 1 tab page to the tab control.